
The beauty of our Cabernet Wedsite is that it is completely one page! So, this is the only page you have to update to customize. Keep in mind that you can customize this completely by removing anything you don’t need, and adding anything that you do!
- In your admin dashboard, go to Pages.
- Locate a page titled Home and click Edit.
- Familiarize yourself with the structure of the page and the tools of Kadence Blocks. To edit items, you will click on what you want to edit, and customize options will show up in the right sidebar.
- Now, let’s get started by working our way down the page one-by-one!
**add how to update/add/remove sections for anchor links
Update Slider Gallery
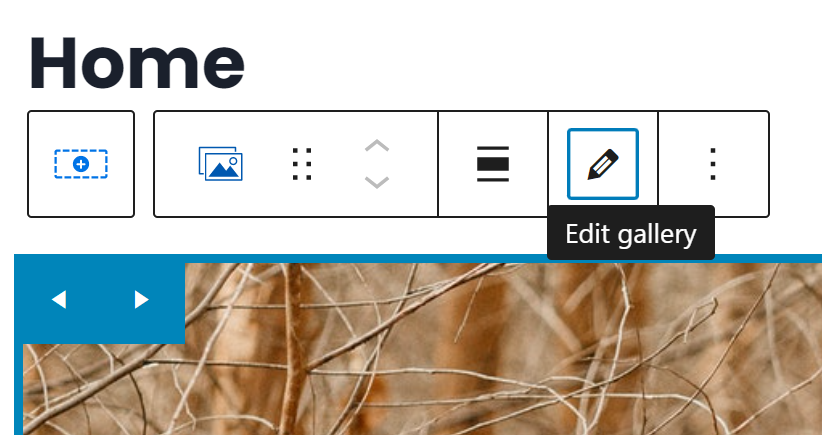
- Click on the large slider gallery at the very top. It should highlight the element and pop up with a mini toolbar just above it.
- Click on the pencil icon to add your own photos!
- In this next page is where you can remove the placeholder content by clicking the X’s in the top corner of the photos, and upload your own by clicking on Add to Gallery in the left sidebar.
- Click Update Gallery when you’re done!
- In the right sidebar, you can customize the look of your gallery even more by changing the layout, slider speed, and more. Feel free to change this if you want!
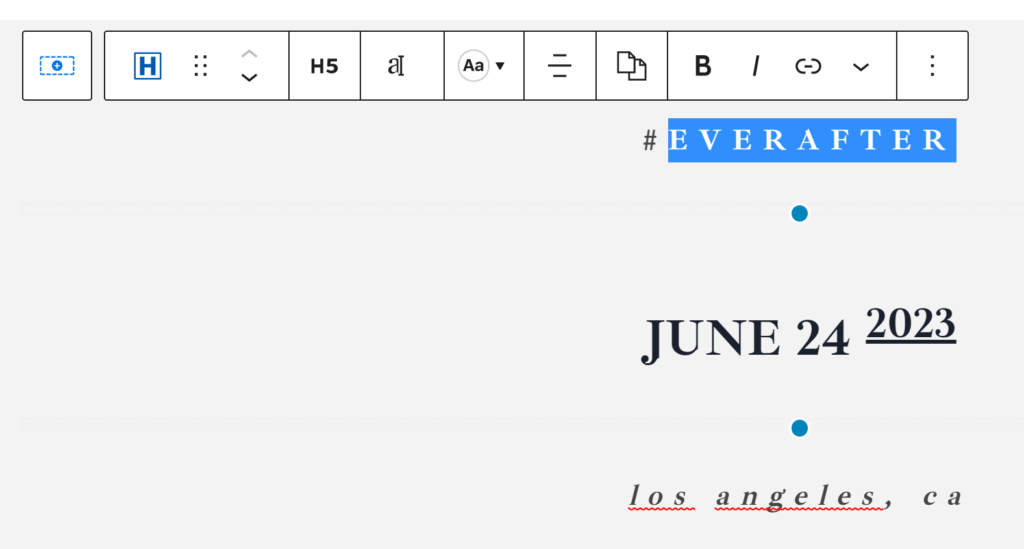
Update Event Overview
This next section is very straight-forward! Simply click on the text to edit as necessary.
Update Your Countdown
- Click on the countdown timer, and view the module settings in the right sidebar.
- Use the calendar and dropdowns to set the countdown date!
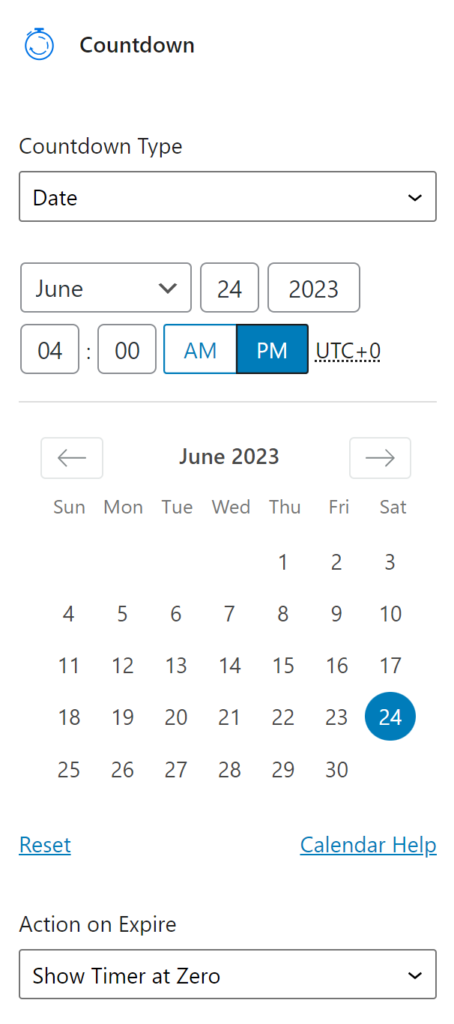
- Feel free to checkout the rest of the settings under the calendar, to customize the layout and fonts of the countdown!
Update Your Story
- Add your photo by clicking on the placeholder one. Similar to the top gallery, you will click the Pencil icon to remove the demo photo, and add your own. This module is set as a gallery, but I recommend only having one photo here!
- Change the placeholder text, including the date and your story, to your own.
- Update the “favorite things” together by clicking on any list item.
- After you’ve replaced the text with your own, you probably want to change the icon to fit what you wrote. In the right sidebar, open the Individual List Item Settings dropdown.
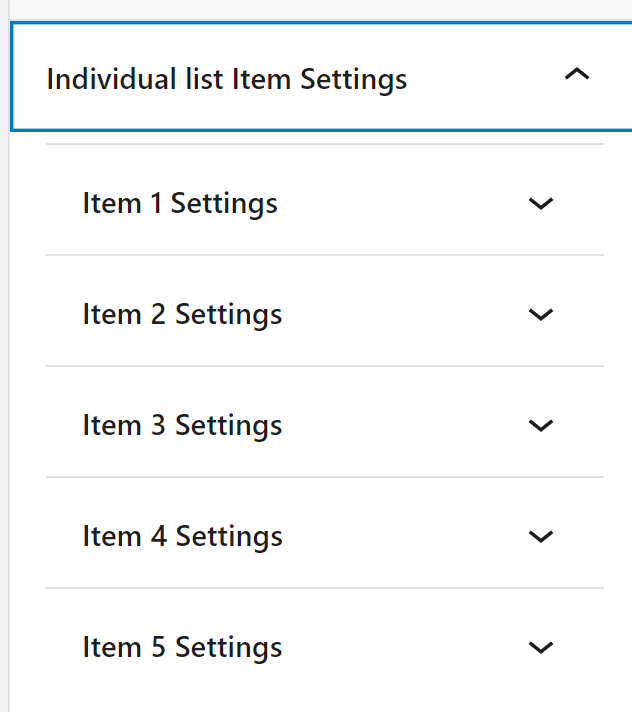
- Now find the item number you want to update the icon for, and open that setting dropdown.
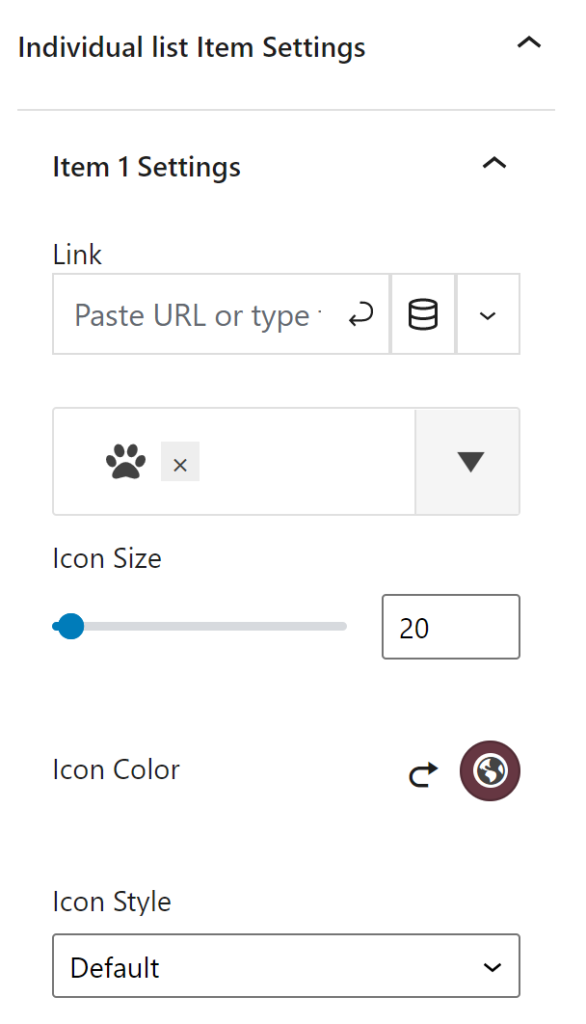
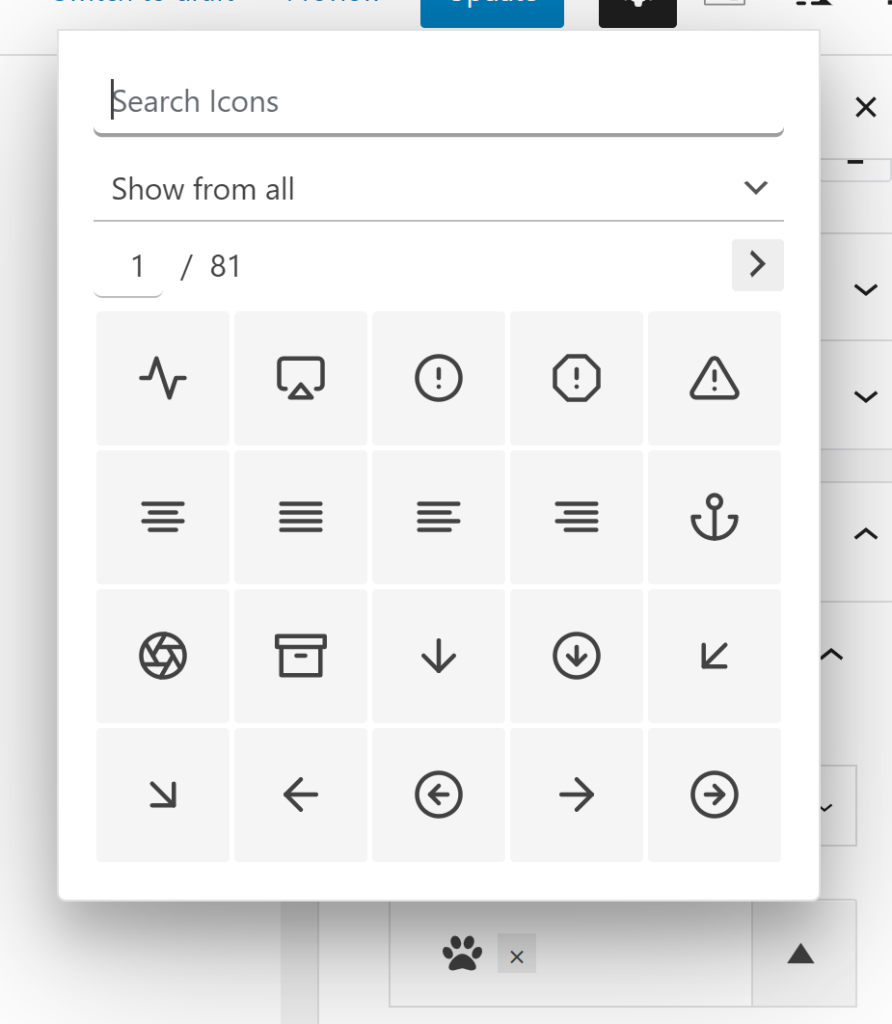
- Change the icon by clicking on the current one. A window will popup allowing you to scroll through the gallery, or search with generic terms!
- Repeat steps 5 & 6 as much as necessary. If you prefer to have the same icon for all items, locate the Edit All Icon Styles Together dropdown, and select your desired icon.
Update The Photo Gallery
- Similar to the top main gallery, click on any image of the gallery to open settings, then click the Pencil icon.
- In this next page is where you can remove the placeholder content by clicking the X’s in the top corner of the photos, and upload your own by clicking on Add to Gallery in the left sidebar.
- Click Update Gallery when you’re done!
- In the right sidebar, you can customize the look of your gallery even more by changing the layout, slider speed, and more. Feel free to change this if you want!
Update The Schedule
- Click on any text to update it with your own.
- Update the icons under the Media settings of the module sidebar.
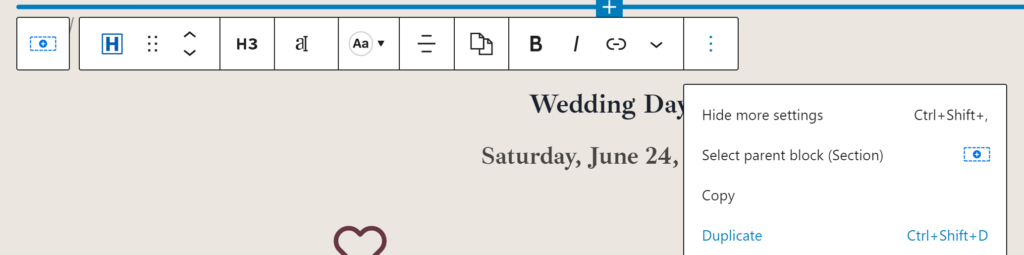
- To add more to the schedule, select the item you want to copy, then click the three dots icon to the far right, then Duplicate. (Or, simply click Ctrl+Shift+D with the item selected)
- Now use the arrows in the toolbar to move the item up or down:

- Repeat steps 3 & 4 for anything else you wish to add.
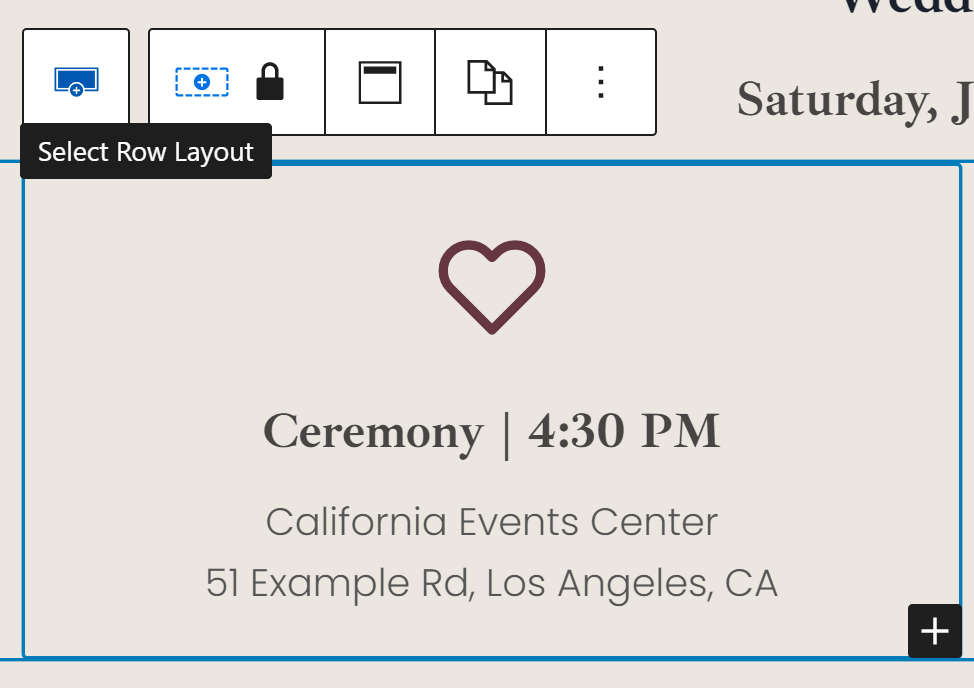
- To copy the double icon boxes, click on either of the icon modules, then click on the far left icon of the toolbar, the plus sign in a dotted rectangle:
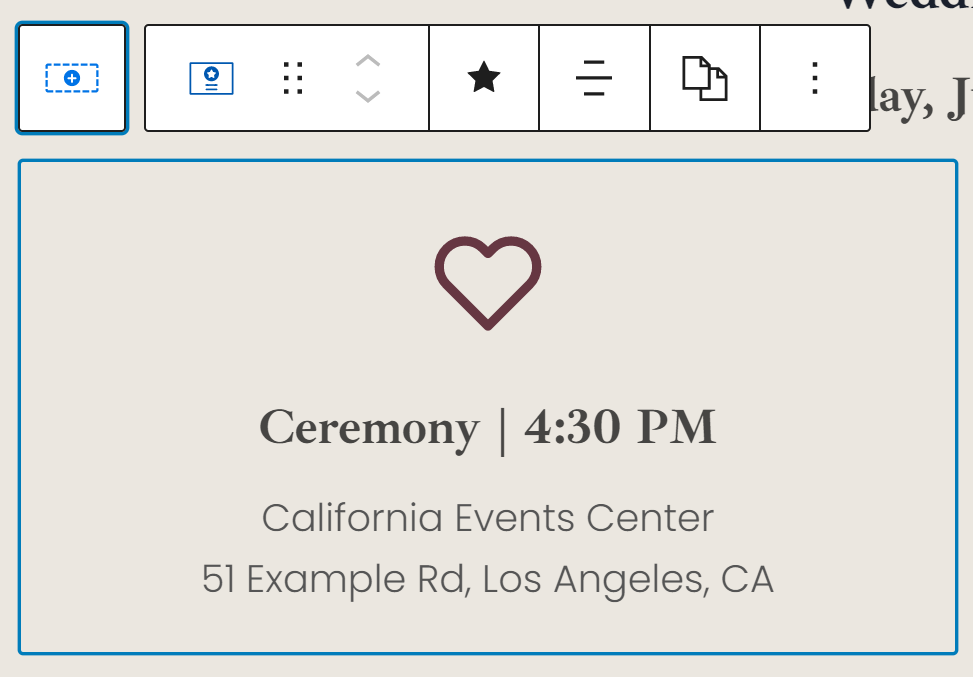
- Select the far left icon again:
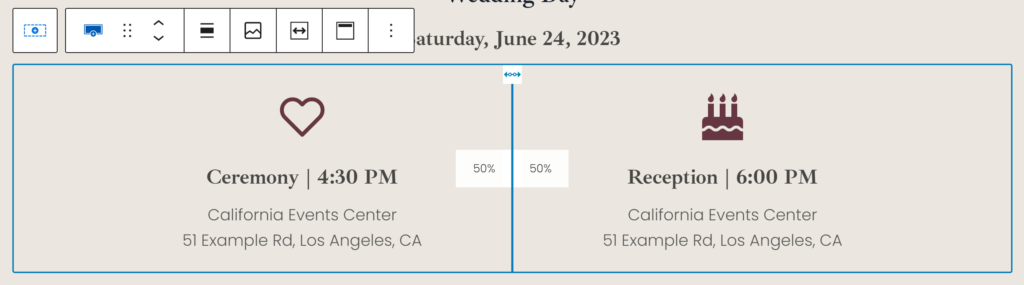
- Now both icon blocks are selected (i.e. the row!):
- Follow steps 3 & 4 above to duplicate this section.
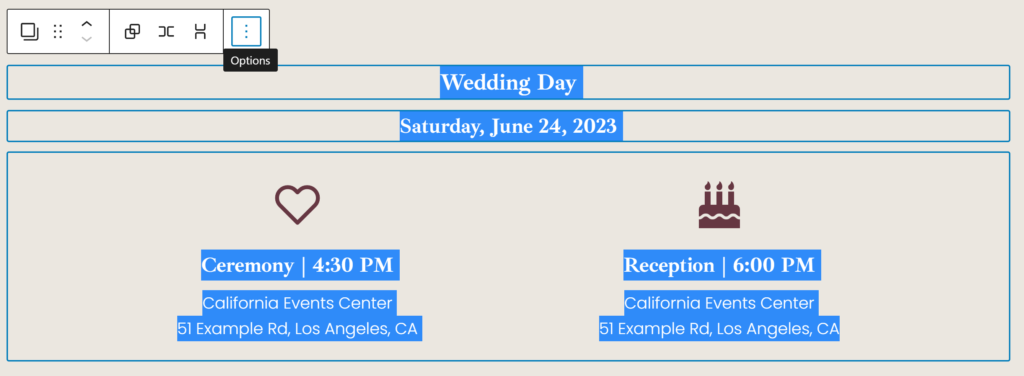
- Alternatively, to select and copy more than one item at a time, simply click to highlight, hold and drag your cursor to the entire selection you want to copy:
- And again, repeat steps 3 & 4 to duplicate.
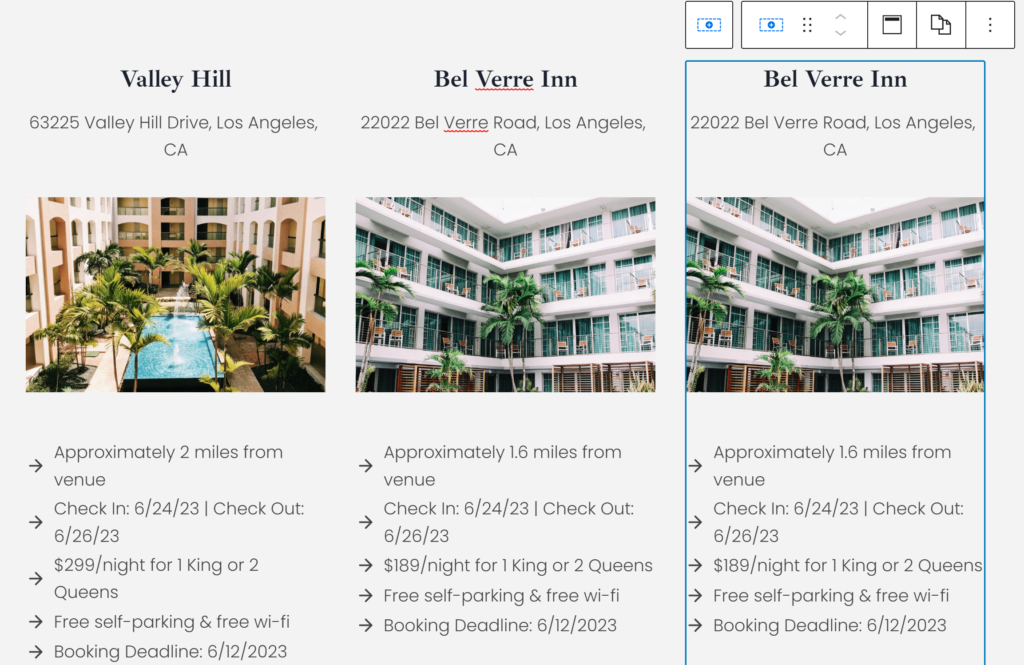
Update Travel Information
- Refer to the knowledge you’ve learned thus far to update text, photos and more here!
- If needed, continue reading to learn how to add an extra column/hotel.
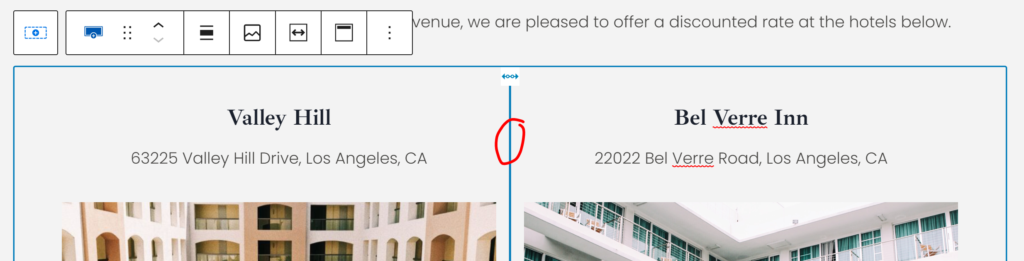
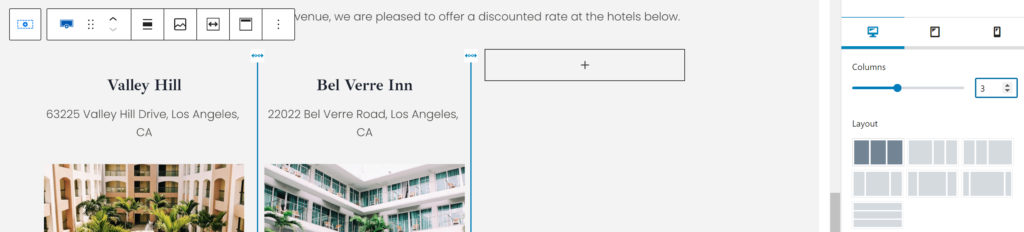
- Click the center between the two hotels, which will make the selection look like this:
- In the right toolbar, add as many extra columns as you need:
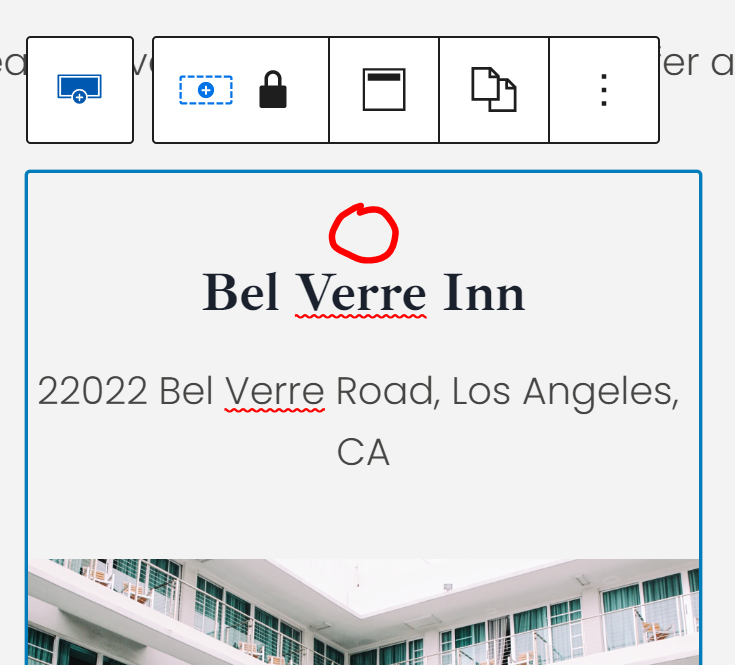
- In either of the existing columns, click just above the title in the empty space, to make the selection look like this:
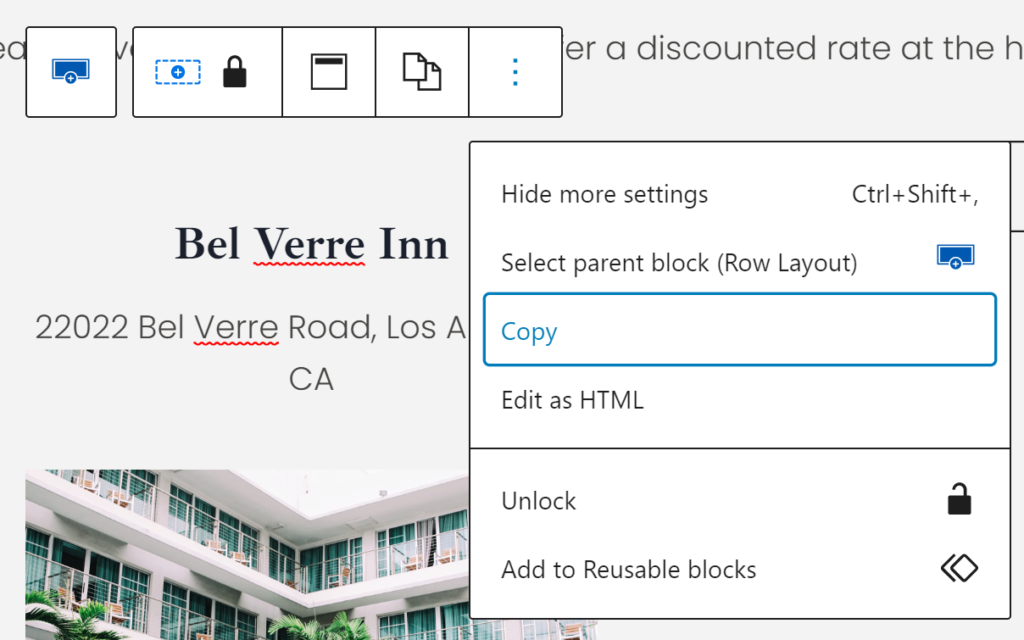
- Click the three dots icon to the right, then Copy.
- Click the plus sign of the newly created column, then click on Paragraph module to add a blank workspace to the column (if you don’t see Paragraph, simply type it in the search bar).
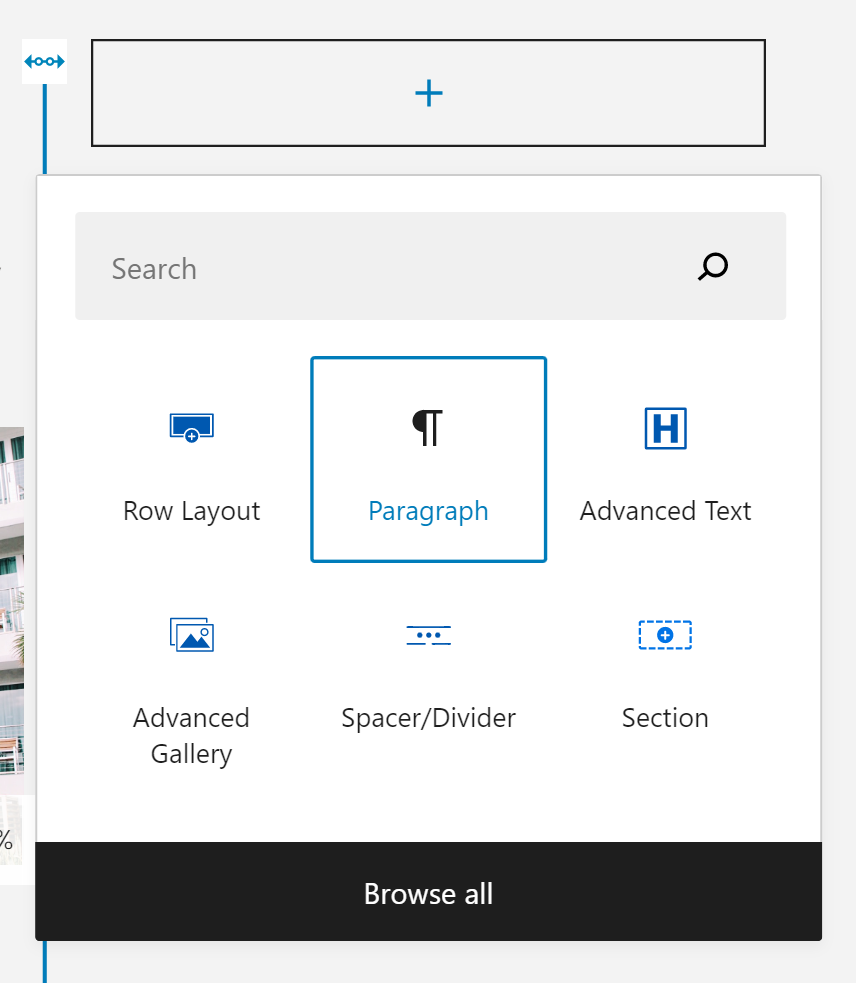
- Now simply click Ctrl+V to paste.
- And voila! Continue to use your new knowledge as necessary!
Update Q & A
- Simply click on any text to update with your own.
- Add new questions simply by clicking on the + Add Accordion Item button.
- Remove any item, by clicking on the empty space between the question & answer, to get the full selection of the item:
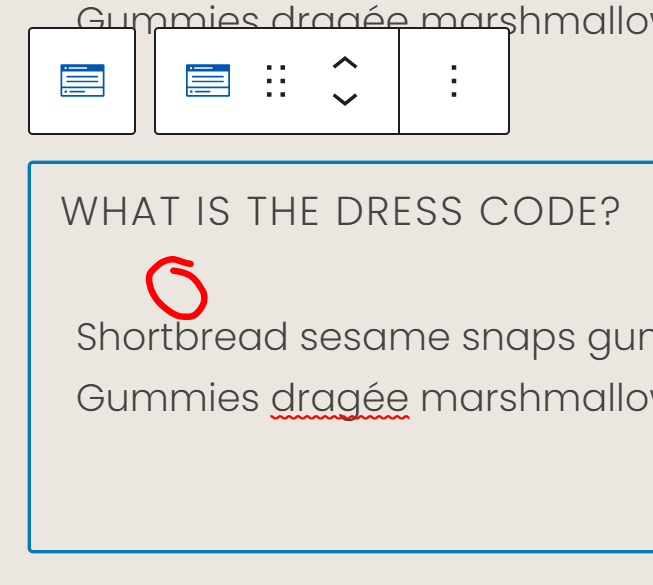
- Click the three dots icon then Remove Pane.
Update Registry
- If you are not registered at multiple stores, you can delete the row with all the store logos, if desired.
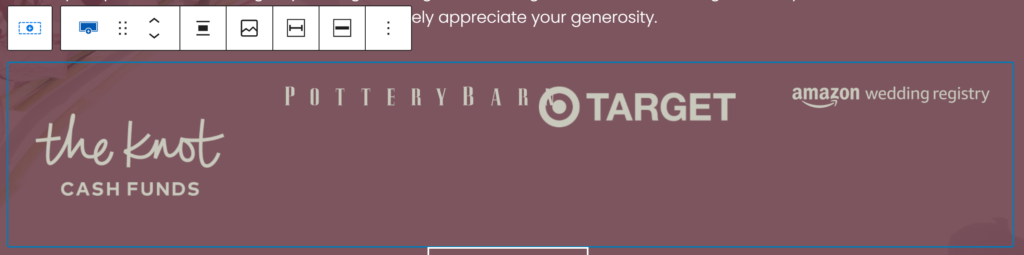
- Too add or remove a few columns, follow the similar steps from Update Travel Information section, steps 3-8.
- Change any store logo or link by clicking on the one you want to change.
- Update the photo in the first section of the right toolbar.
- Scroll down a few sections of the right toolbar to locate Link Settings, and add the link to your registry.
- Click on the Visit Registry button, then the pencil icon to update the link. Delete the # and add the link to your registry. This is a great spot to link to a universal registry that includes all the items from your various stores!
Update RSVP Form
Please refer to this article for updating the RSVP form!
And that’s it! Use your new knowledge to continue updating your beautiful website as you please!