
Introduction
Thank you for purchasing the Brittany theme! This documentation covers the main settings of this theme to get you started and understand the majority of features offered. Please note this does not cover everything about WordPress or the Kadence Theme as these can be very extensive topics. However, there are many resources available online to refer to questions or troubleshooting you may have. Click on the linked text above to browse the help/support topics for each!
If you still have questions throughout this process, please contact me and I will respond as soon as possible!
Get More Out of Your Theme!
This theme is built with the FREE Kadence theme, a fantastic and user-friendly WordPress theme offering a generous amount of customization, functionalities, and Gutenberg blocks. However, maybe you’re looking for more features, capabilities or options that you might notice are offered in the Pro theme as you go through the editing process. While this theme ONLY needs FREE Kadence, it is also compatible with Pro! Explore everything Kadence Pro has to offer by clicking the link below!
Share Your Site with me!
I LOVE seeing how my clients make these templates their own! Feel free to share what you create with me on Instagram, Etsy, or Email. I’d love to help you promote your site or business even further!
Before You Begin
Backup Your Site
As always, before making any major updates or installation to your website, please be sure to create a backup, and that your WordPress is updated to the latest version before proceeding! Many web hosts provide backups regularly so ensure you have an updated backup. Additionally, it is always a good idea to get in the habit of creating a backup manually, right before you start this process.
My personal favorite and recommendation is utilizing the FREE WordPress plugin All-in-One WP Migration to create your website backup for FREE. Information on how to create a backup, and restore with that backup, can be found on the linked page.
Theme Defaults
Please refer to the information below if you ever wish to revert back to theme-default settings or information.
COLORS
CLICK HERE for the color import code.
FONTS
- Base Font: Libre Franklin, regular, 17px
- Heading Font Family: Cormorant Garamond
Plugins
These plugins are required for your theme to work properly, and look exactly like the demo. Click on the name of each to learn more. Each will install with the Demo Content import described in the next steps (Installation).
- Kadence Blocks – Created specifically for themes built with Kadence, like this one! This plugin installs Gutenberg-editor blocks to create posts, pages and more on your site.
- Smash Balloon Instagram Feed – Exactly how it sounds, this adds your Instagram feed to the site!
- Reusable Blocks Extended – This is used primarily for the Newsletter Block feature of the template, so you only have to edit settings in one spot for it to update everywhere it’s shown on the site! You can also create and manage your own.
Installation
Install Kadence Theme
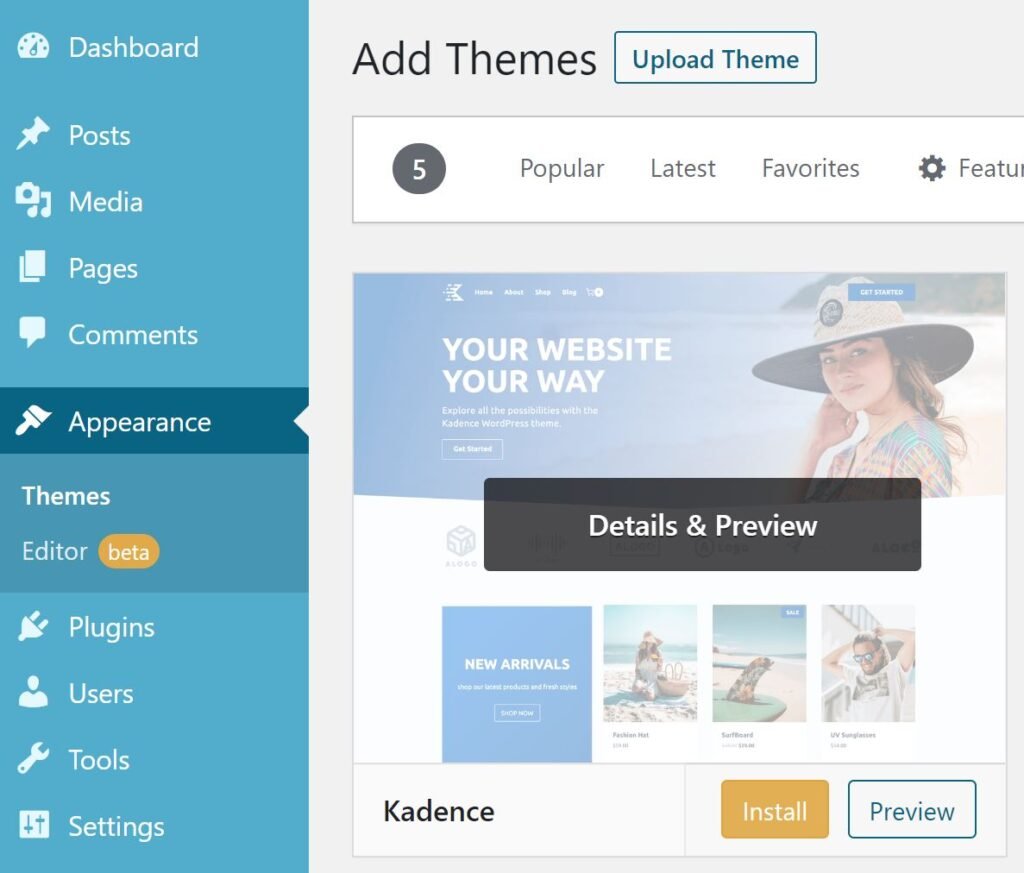
- Go to Appearance > Themes and click on the Add New button.
- Search for kadence in the search bar and hit enter.
- Install Kadence. DO NOT ACTIVATE.
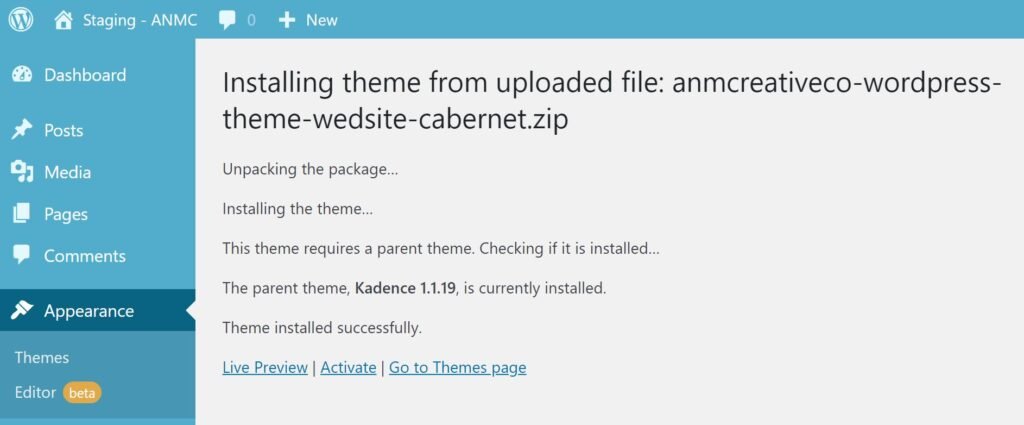
Install Purchased Theme
Your download included TWO VERSIONS of this theme. One WITH WooCommerce compatibility, and one WITHOUT WooCommerce. Please upload the one you want to start with. If you eventually want to add a store but do not have one yet, I recommend uploading the WooCommerce version so you will not have to repeat these steps later!
- In the same screen, click on the Upload Theme button at the top of the screen.
- Browse for your purchased theme ZIP file and click Install Now.
- Now click Activate.
Import Demo Content
- A banner message will appear asking you to Install Kadence Starter Templates. CLICK the button.

- In this next screen for “Choose Your Builder”, click the ANM Creative logo & ANMCREATIVECO button.
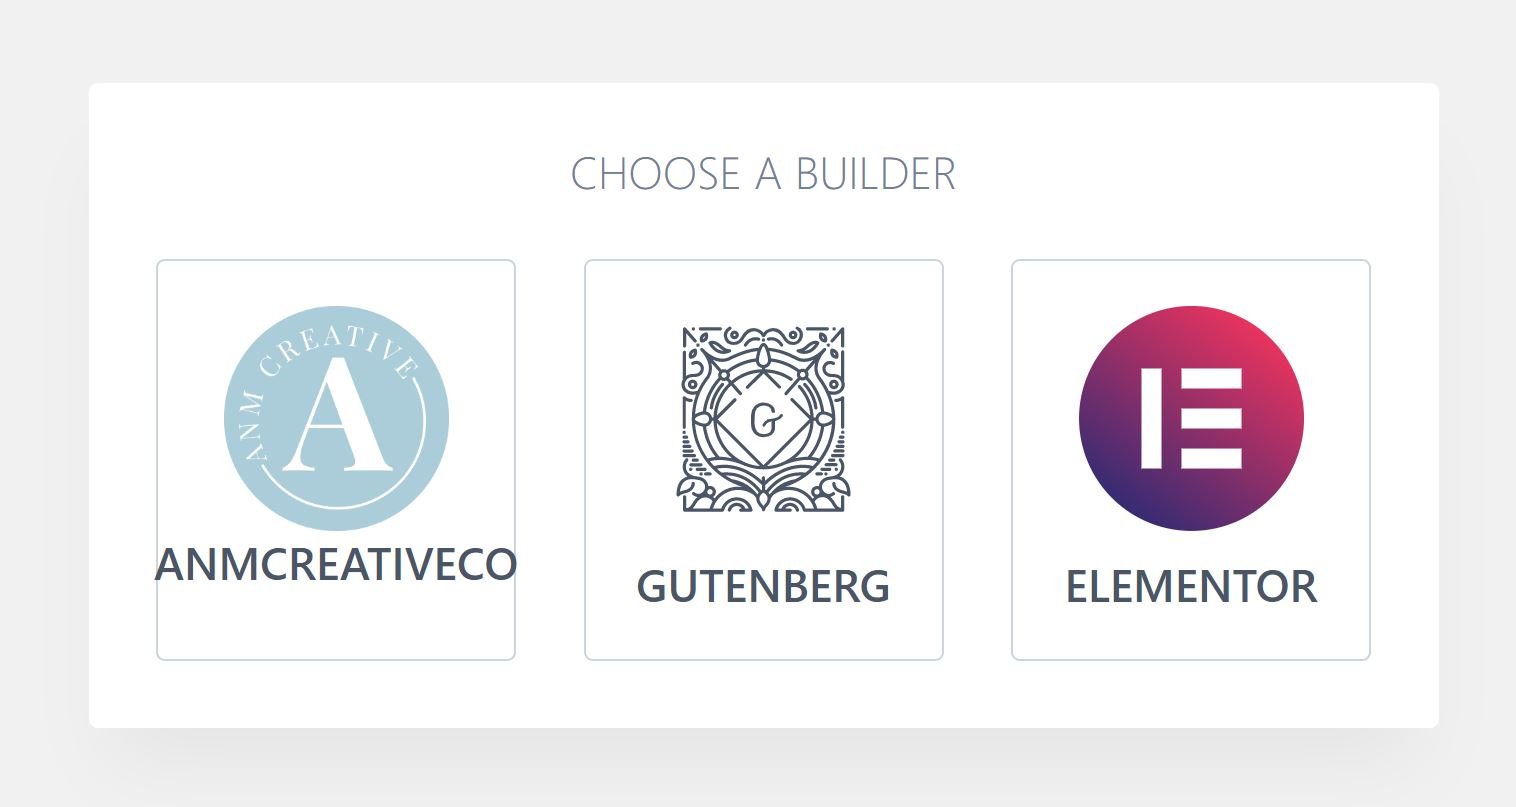
- Select the preview of the theme you download, with it titled “Demo Content”.
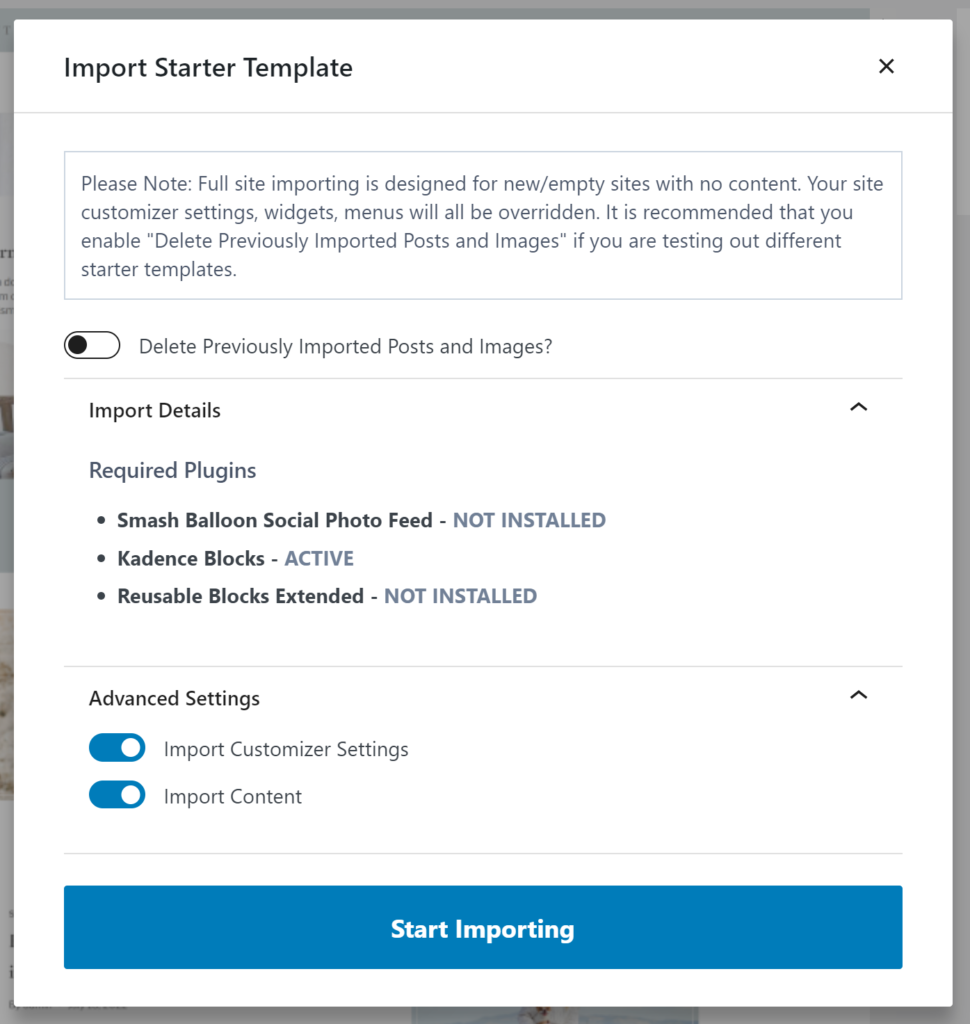
- A prompt will appear letting you know which plugins the theme requires and will install these plugins during the process. Please note this is a FULL IMPORT, so all content you have seen on the demo site WILL be imported to your site, and all your set themes, colors, widgets, etc. WILL be overwritten.
- Keep all the settings under Advanced Settings on (Import Customizer Settings, Import Content).
- When you have prepared for this full install, click on the Start Importing button. (This may take a few minutes, please be patient.)
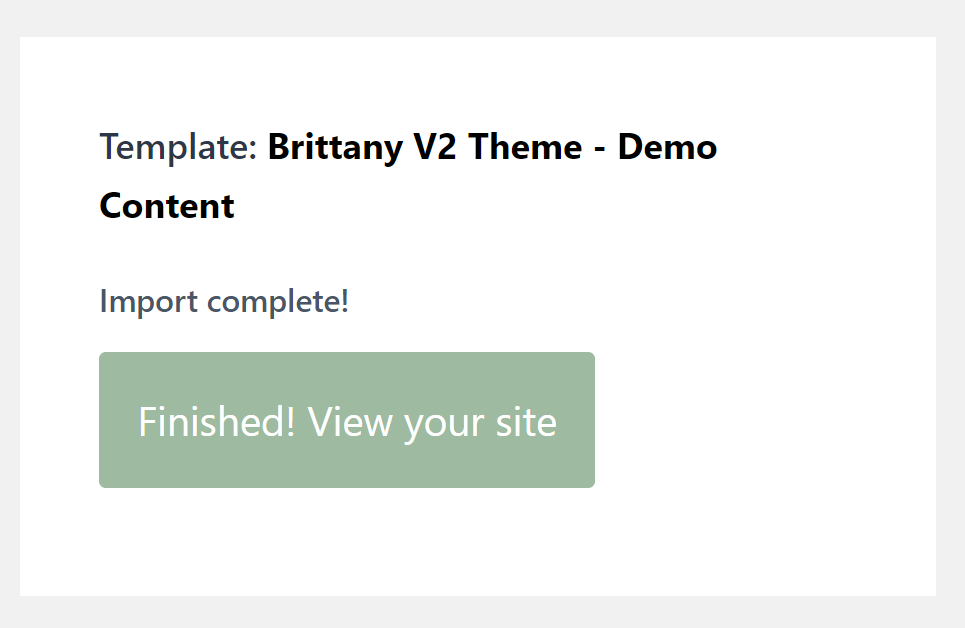
- Now click the Finished! View your site button and continue on to the next section to complete your site!
If you are experiencing errors or other difficulties installing, please click here for troubleshooting.
Remove Demo Posts
This theme imports demo posts for visual representation. To delete them, proceed with the following.
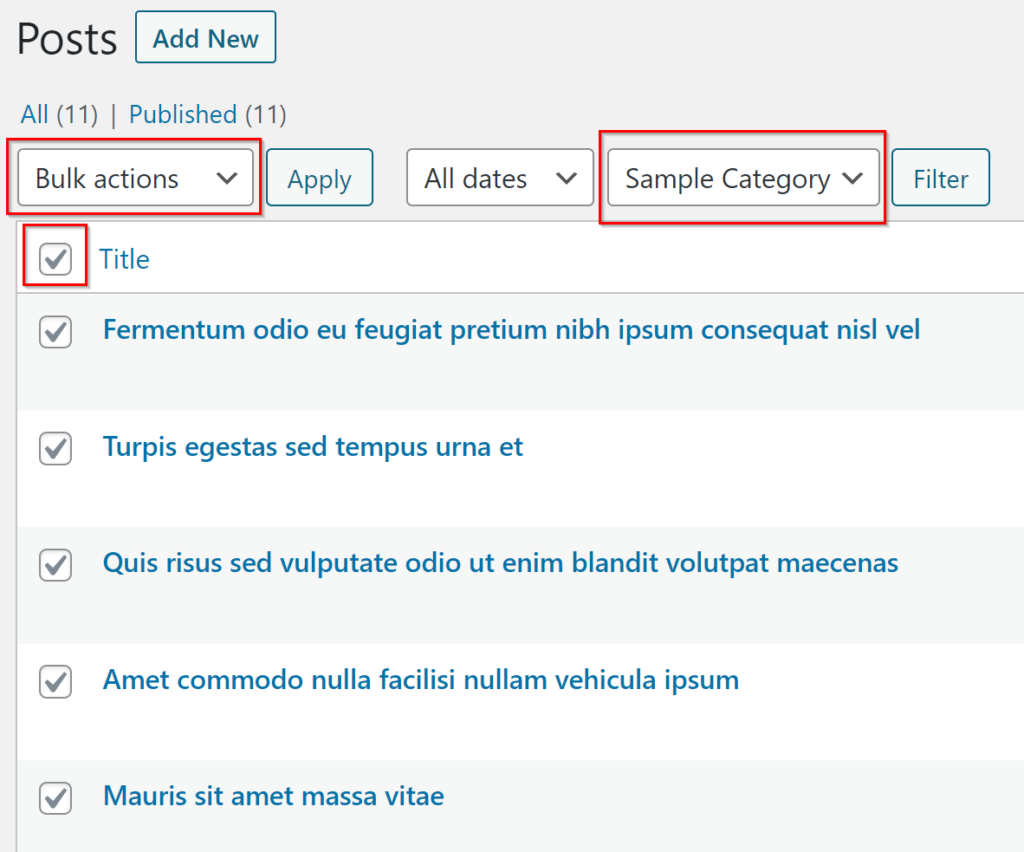
- In your Admin Dashboard, go to Posts.
- Click on the first checkbox (next to Title) to select all. Ensure nothing is selected that you don’t want to delete!
- TIP: All posts are categorized under Sample Category. Feel free to filter to that category for easier navigation if you already have existing posts.
- Under the Bulk Actions dropdown, click Move to Trash, then Apply.
Design Library
This theme includes a Design Library! The design library is essentially a collection of pages, sections and other elements related to this theme. This is great for “recovering” original designs and templates, and using them as a base to do even more. The best part? The cloud will automatically update with any updated designs or NEW designs that I add!
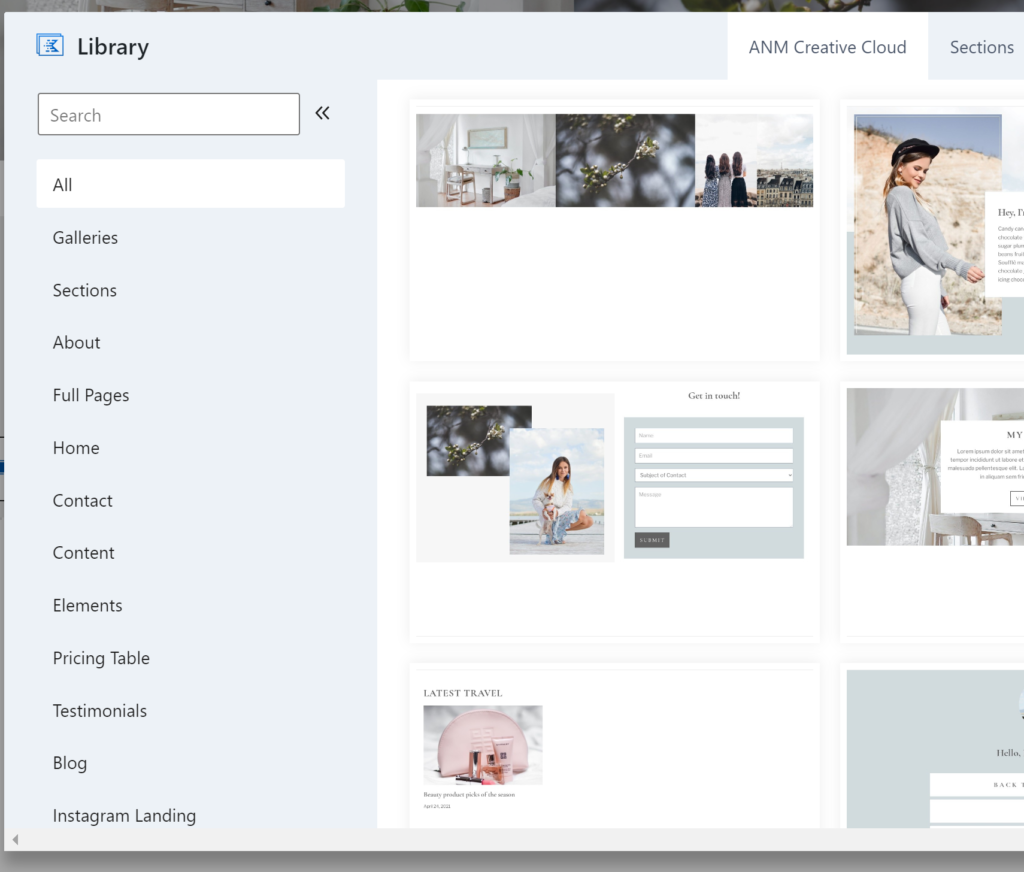
The design library can be accessed from any page or post editor. At the top of the page, you’ll notice a button that says Design Library. Click on it! A popup will appear with four different tabs at the top. At the left, locate ANM Creative Cloud. This will then display all of the Brittany theme related content available for you to use ANYWHERE on your site! Simply click on the element you want to add to your page and watch the magic happen!
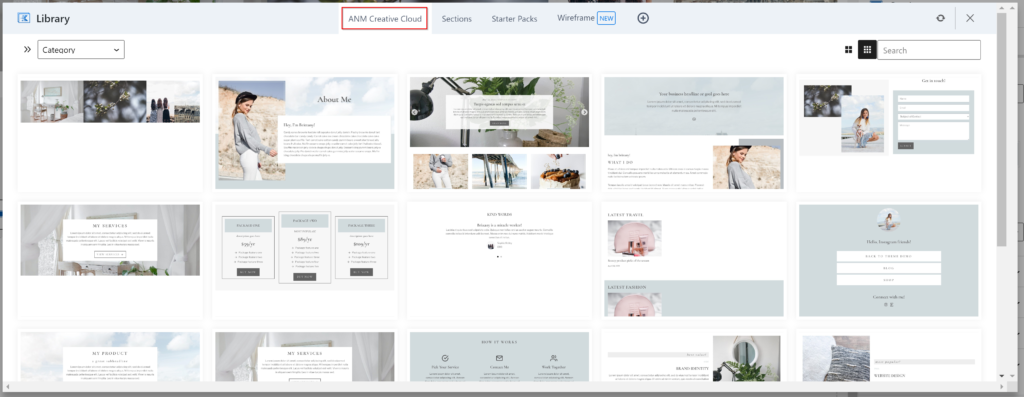
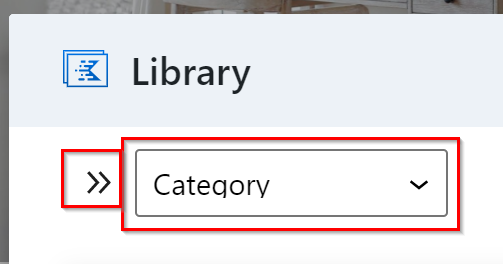
You can also filter through and easily navigate through the designs by clicking on the dropdown filter in the top left, or the double-arrow icon to display the full list.
Connecting to the Library
If your theme is not already connected to the design library by default, you will have to connect manually. But don’t worry — this is really easy!
- In the Design Library window, click on the plus icon after the last tab.

- You will be asked to enter in a Connection URL and Access Key. This information is included in your downloaded ZIP, as a notepad file, named accordingly. Open it to enter the correct information.
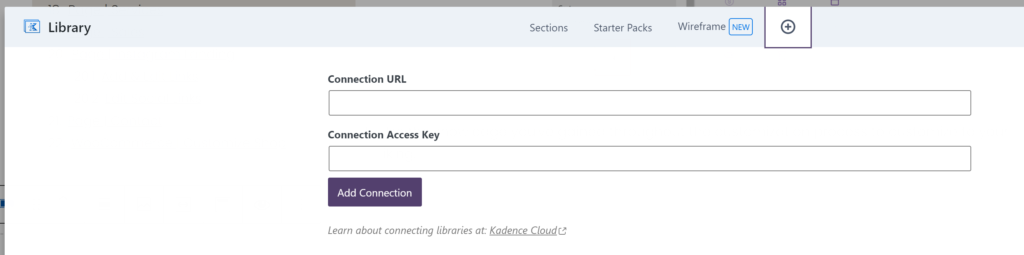
- Click Add Connection after you’ve entered in the access information.
- You should now see the ANM Creative Cloud tab added. Click on it, and the designs should start appearing! It may take a moment for the previews to load, but you can start using them right away!
Set Up Your Home Page
This theme comes with two homepage layouts for you to choose from! If you wish to change the homepage from the default, continue below.
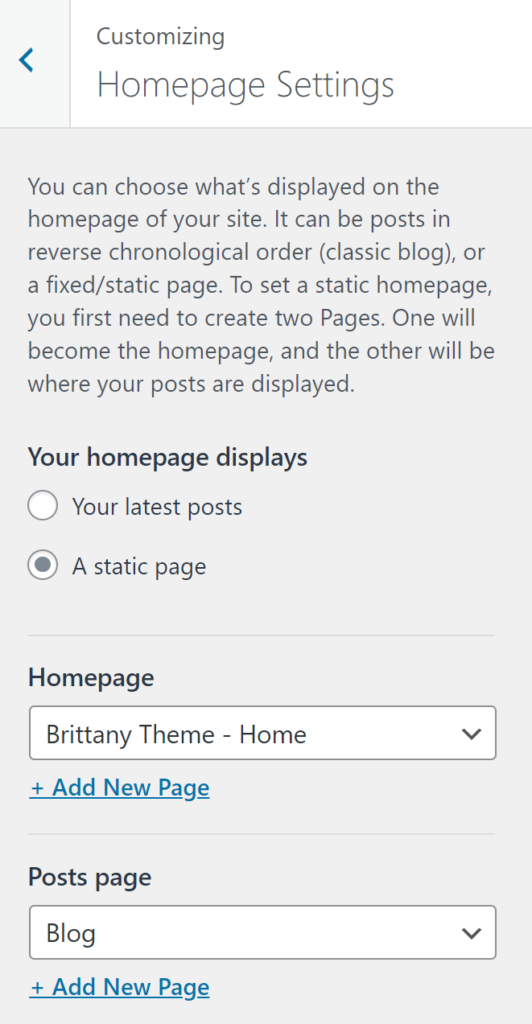
- In the Customizer, go to Homepage Settings.
- Select the name of the new Homepage you wish to use. If you want to only display your latest posts (i.e. blog), then select Your latest posts.
- Click save!
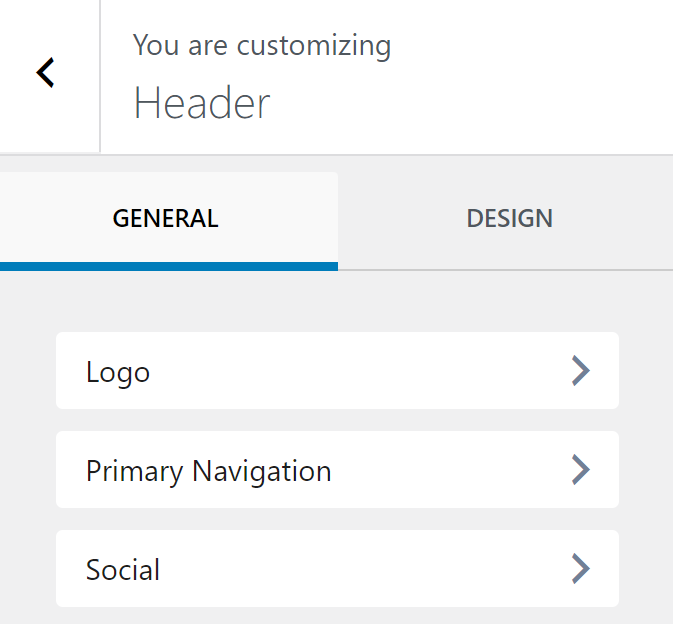
Customize the Header
- In the Customizer, go to Header.
- From here, you have tons of options to truly customize the header however you please! Use the left sidebar to locate settings you want to change. You can also use the bottom toolbar to add & rearrange items to your liking. This tool is very intuitive, so have fun with it!
Update Menu Navigation
- To update your navigation menu, click on the Primary Navigation > button in the left sidebar.
- Now go to Select Menu > and Edit Menu located under Primary Menu. OR, select one you have already created from the dropdown.
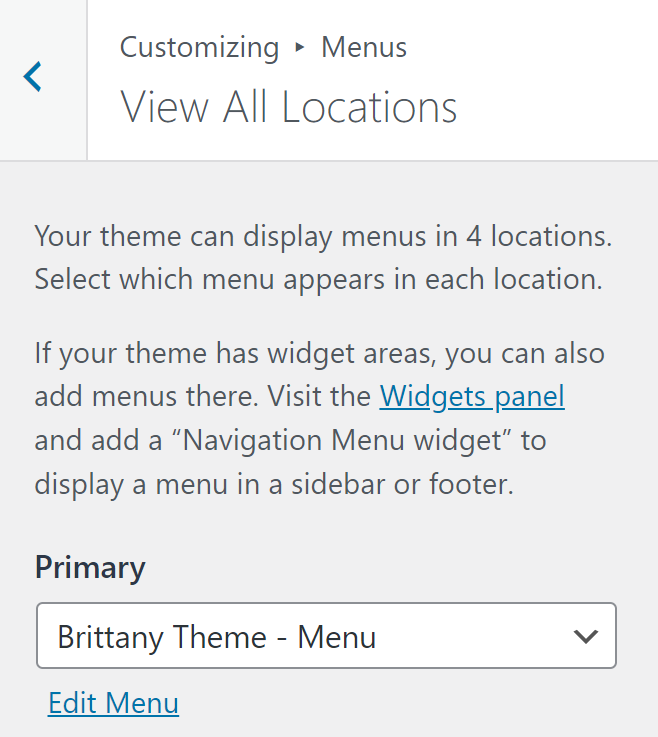
- Click Publish whenever you are finished customizing your navigation menu.
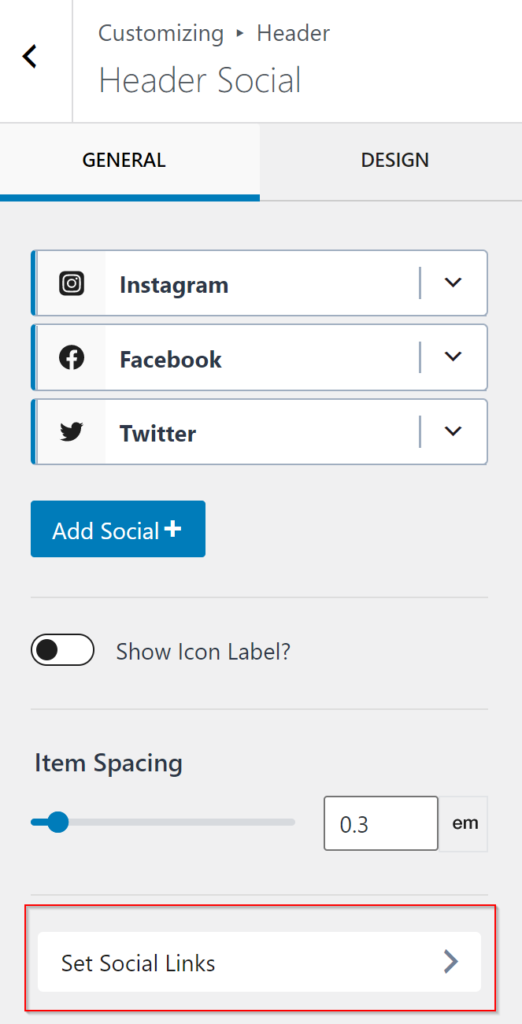
Update Social Profiles & Links
- In the left sidebar of Header settings, click on Social.
- Here you can add and remove the icons to the profiles you have. Simply click Add Social to add a new one, and click and drag to rearrange the order.
- Click Publish when you’re done to save your progress.
- Now we need to set the links to our profiles! Click on the Set Social Links button near the bottom in the sidebar.
- Scroll through this list to locate the profiles you want to add your link to, and be certain to include the entire profile URL!
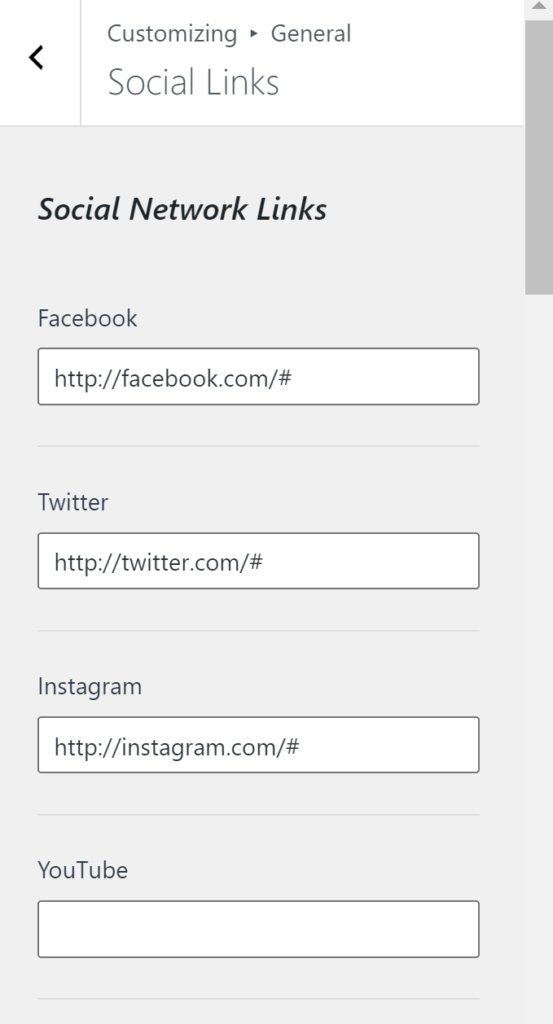
- Click Publish when you’re done!
Customize the Footer
- In the Customizer, click on Footer.
- Similar to the Header editing interface, you can add, edit, remove, and rearrange widgets however you’d like, so have fun with it!
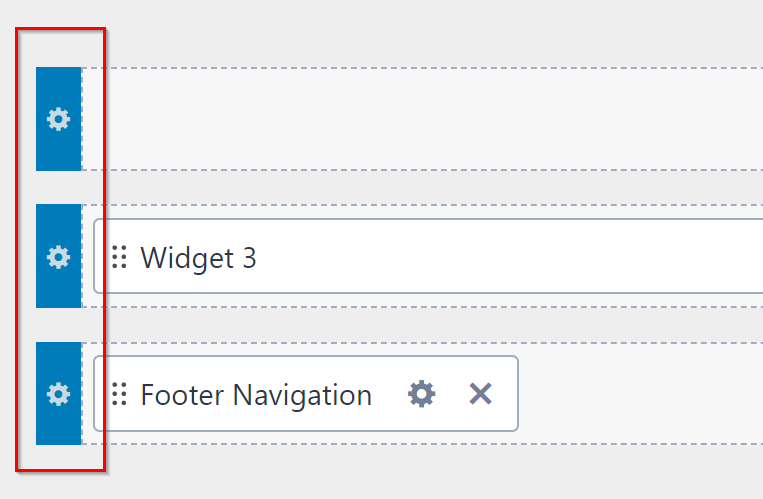
- For your reference, here is the general structure of the Footer:
- Top Row: Features the newsletter signup form, named as Widget 1.
- Middle Row: Features your Instagram feed, named as Widget 3. To learn how to configure this, click here.
- Bottom Row: Features three widgets in their own column: Footer Navigation, Widget 2 (site logo), and Copyright.
- In the bottom toolbox, you can utilize the gear icons to the left of the rows to customize the colors, structure (such as adding and removing columns), and more.
Configure Your Instagram Feed
- Ensure that the Smash Balloon Instagram Feed plugin is installed and activated. If not, please be sure to do both.
- In your Admin dashboard, go to Instagram Feed > Settings.
- Click on + Add Source in the Manage Sources section.
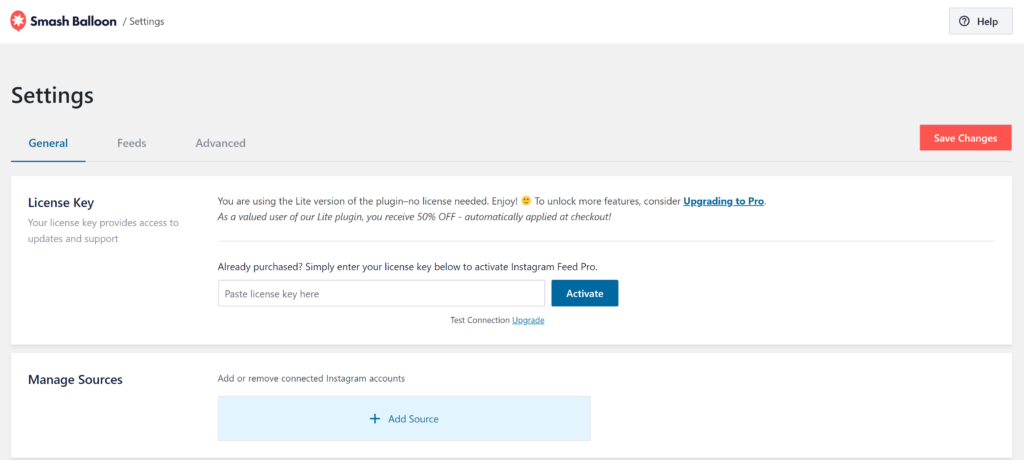
- Follow the instructions on the following screen to connect your Instagram profile.
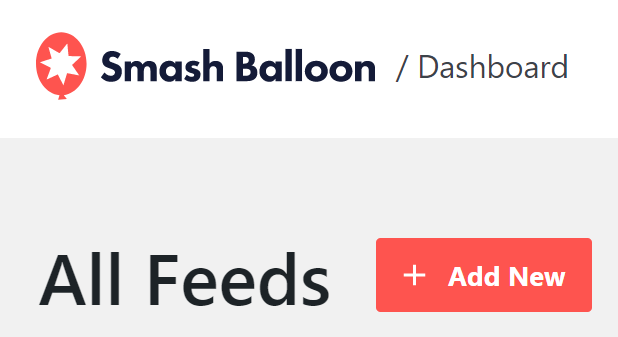
- Now go to Instagram Feed > All Feeds in the admin dashboard.
- Click + Add New.
- Select User Profile and continue.
- Select the Instagram account you want to pull the feed from.
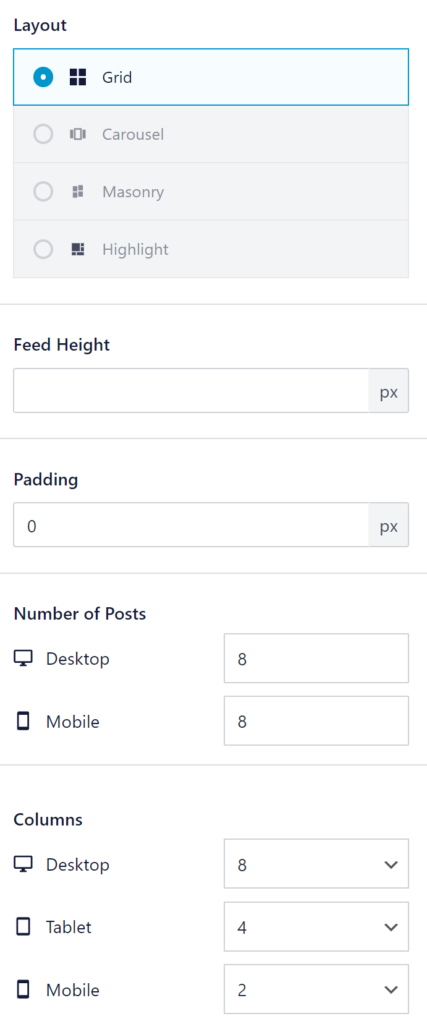
- Under Customize, go to Feed Layout, and configure the following settings:
- Layout – Grid
- Feed Height – (keep blank)
- Padding – 0 px
- Number of Posts – 8 for both Desktop and Mobile
- Columns – 8 Desktop, 4 Tablet, 2 Mobile
- Click the < CUSTOMIZE button at the top to go back.
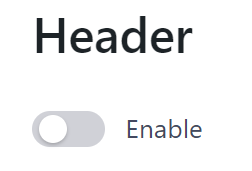
- Go to Header, and disable it by clicking on the blue switch button to turn it gray.
- Click the < CUSTOMIZE button at the top to go back.
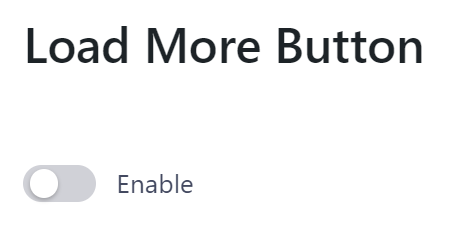
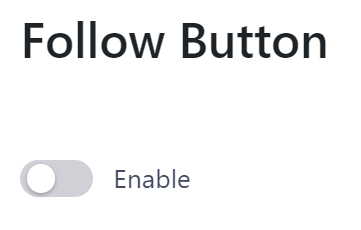
- Repeat Step 10 for both the Load More Button and Follow Button.
- Now click the red Save button in the top right corner.
- Now go to Appearance > Customize.
- Click on Footer, and locate Widget 1.
- Click the + to add the Instagram Feed widget. Make sure to select the one with the Instagram logo!
- Select your Instagram feed you just created.
- Save your changes!
Update Colors, Fonts & Buttons
- In the Customizer, go to Colors & Fonts.
- Let’s start with the colors by clicking on Colors.
- You can store up to three color palettes to swap through as you please. Don’t worry, you can always change them, but sometimes it’s nice to have some of your favorites already stored!
- Simply change the colors by clicking on the colored dot you want to change.
- You can also export and import color palettes. This is especially handy if you ever wish to change back to this theme’s default, or save your own. Click on the folder icon to do this!
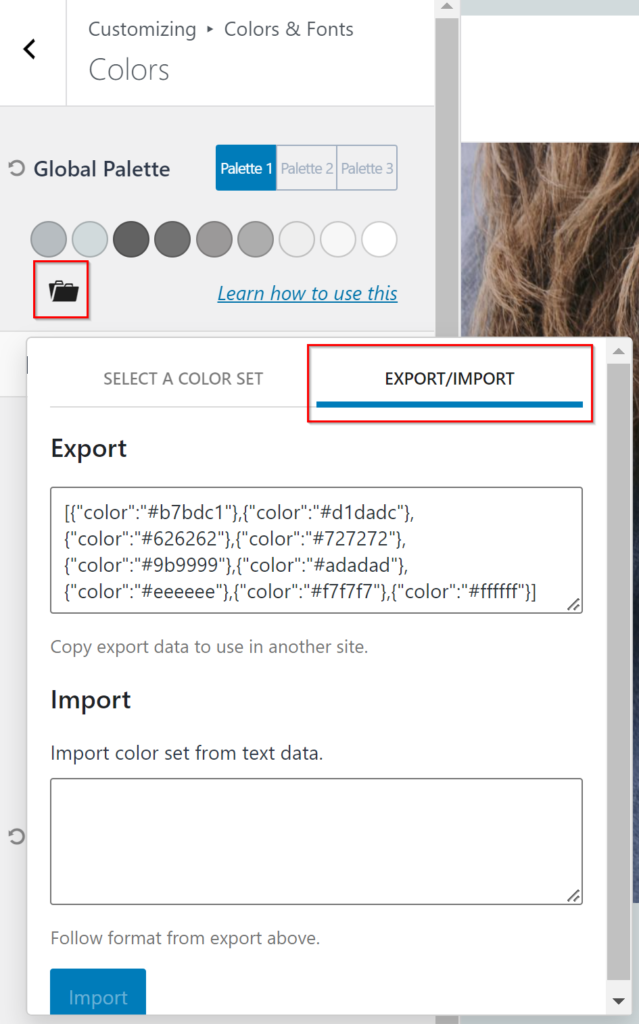
- The text listed under Export, is the color palette code for your current design. Be sure to keep this in a safe spot if you ever want to revert back to your own changes.
- Continue changing the rest of the site colors in the left sidebar, then click Publish when you’re done.
- Go back to Colors & Fonts, and click on Buttons to change the style of buttons, if you wish.
- Go back to Colors & Fonts, and click on Typography.
- The Base Font is the main font of your site, the one that shows up the most. This is for the body text of posts, pages, etc. To change the font, click on the name of the font (in this case, Libre Franklin).
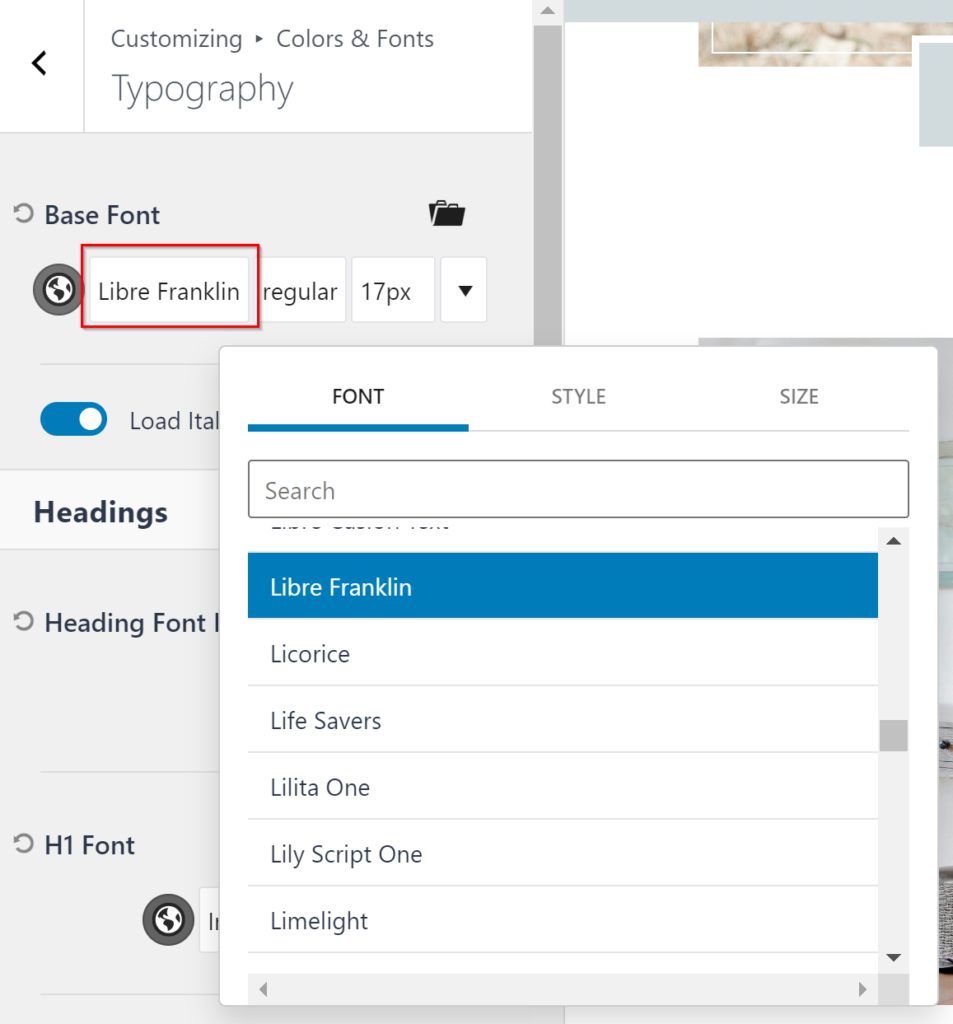
- A font list will populate, pulled in from Google Fonts. Search or scroll through the list and select your desired font and preview the changes in real-time!
- You can also change the Style (such as bold, italic, etc.) and Size of your font in this pop-up as well, just select the corresponding tab at the top.
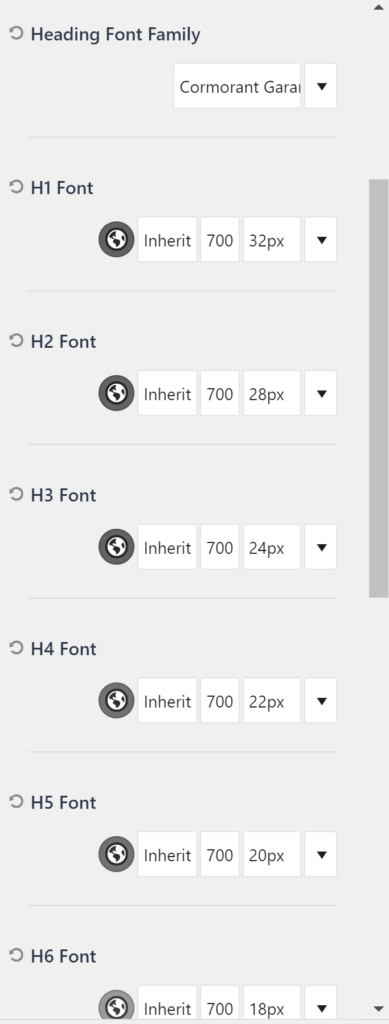
- Set your Heading Fonts in the next sections. You can set one font for all headings, or a different one for all of them — keep reading to learn how to do either of these options.
- By default, this theme has one font for all headings. This is achieved by:
- Heading Font Family: Cormorant Garamond
- ALL H1-H6 set to Inherit (this “font name” can be found at the very top of the list) to “inherit” the font set in Heading Font Family.
- Just a few fonts for headings can be achieved by:
- Set a font in Heading Font Family
- Change your desired H1-H6 fonts from Inherit, and keep the others at Inherit.
- Alternatively, set a different font for each heading by changing all font families in H1-H6.
Theme Default Color Palette
If you would ever like to change back to this theme’s default color palette, simply copy & paste the below into the Import box of the Export/Import screen, as explained in the steps above!
[{"color":"#b7bdc1"},{"color":"#d1dadc"},{"color":"#626262"},{"color":"#727272"},{"color":"#9b9999"},{"color":"#adadad"},{"color":"#eeeeee"},{"color":"#f7f7f7"},{"color":"#ffffff"}]Change Page Layouts
- In the Customizer, go to Posts/Pages Layout.
- The Page Layout settings are for general pages you create on your own. Many of the theme default pages will NOT be affected by these changes.
- Now go to Single Post Layout.
- As you start making changes, the preview should update to an appropriate page so you and preview the changes in real-time. If not, you may need to manually navigate to these pages.
- Play around with the settings to achieve your desired look, and when you’re finished, click on Publish!
- Now go to Archive Layout — this is your blog page, category pages, etc.
- Here you can change the placement of the sidebar, look of the posts, and more. Scroll down the sidebar and update the settings to make it yours! Click Publish when you’re done.
Update the Sidebar
- In your Admin Dashboard, go to Appearance > Widgets.
- Locate the widget area named Brittany Theme Sidebar.
- Here you can edit the widgets, similar to how you edit pages and content as it is using the same editor.
Add A New Widget Section
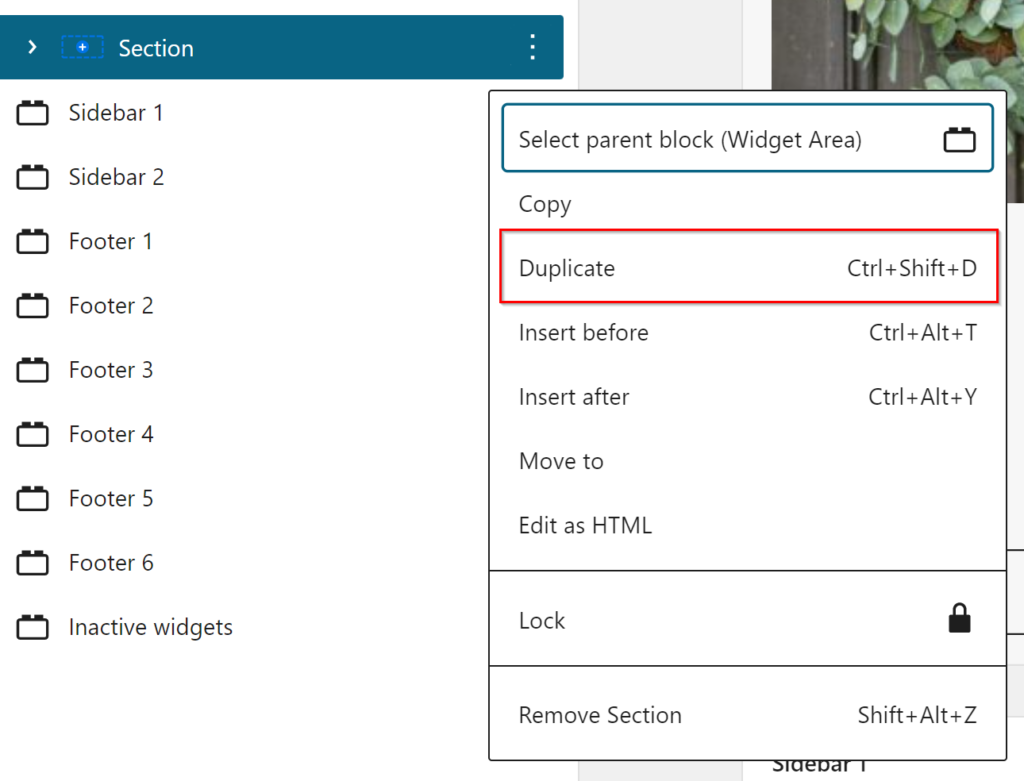
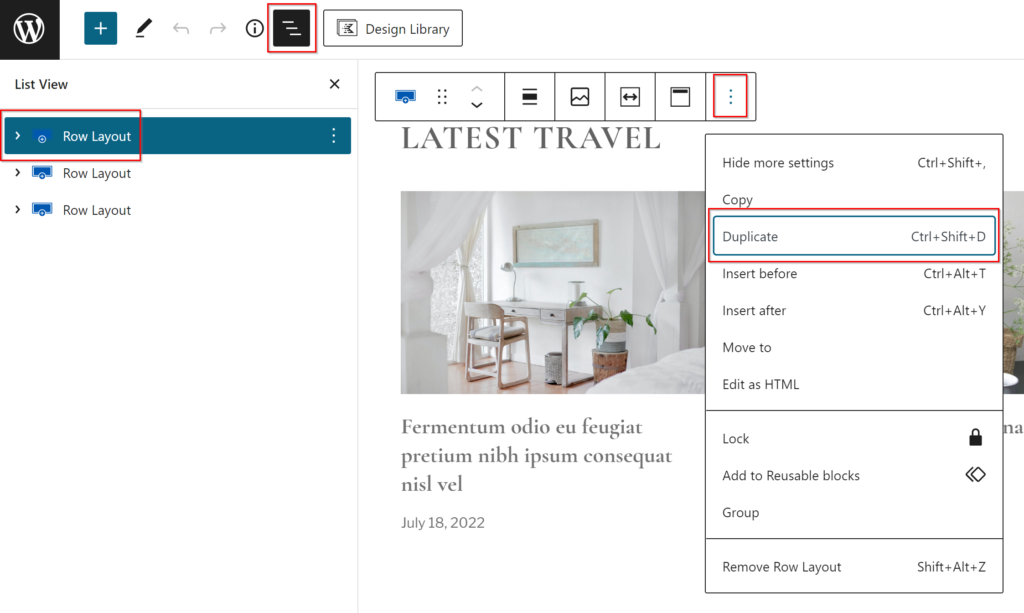
- The easiest way to add a new widget section, and to have it match/look like the existing ones, lets open the navigation sidebar to easily locate widgets. Do this by clicking on the three lines icon at the top of the page.

- Now you can kind of familiarize yourself with the structure of this sidebar, and notice how they are set up as Sections. Let’s click on the last Section, then click on the three dots to the right, and click Duplicate.
- You should now see your copied section. You can click on the existing content widget, then Delete it by clicking the key on your keyboard, so now all you’re left with is the header of your new section. Click on the text and edit to your liking!
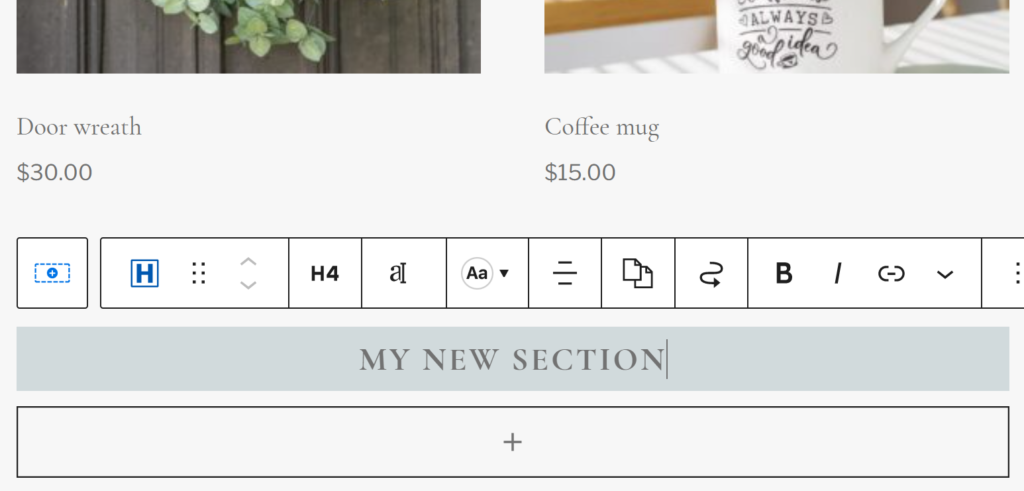
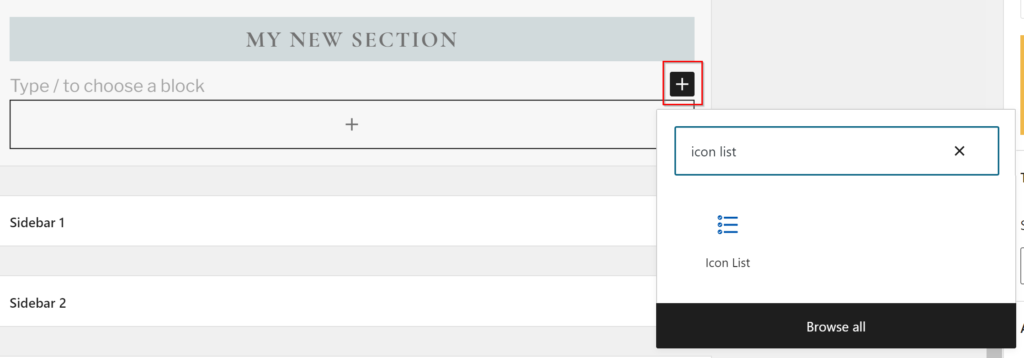
- Now click Enter on your keyboard to start adding content to your new section. Click the + that appears to the right and search for the widget you wish to add. For this example, I will add an Icon List.
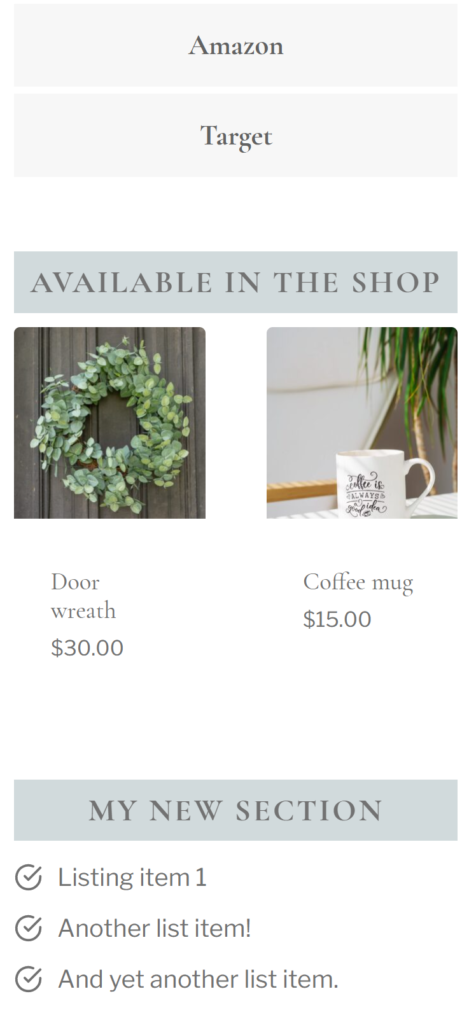
- Create your new content as desired, then when you’re done, click Update!
- Repeat these steps as much as necessary to get your sidebar just how you like it!
- Refresh your page and check out the changes!
Rearrange Widgets
- Similar to adding a Widget, open the List Navigation from the three lines icon at the top.
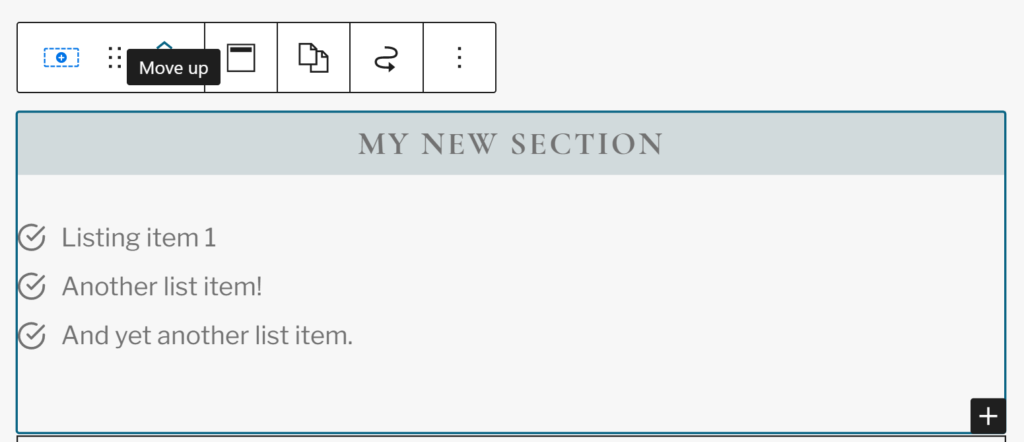
- Click on the section you want to move — it will highlight the content on the page.
- On the page, a top toolbar will open above the section. Click on the up arrow as much as needed to arrange how you’d like. You can also move down by clicking the down arrow.
- Click Update when you’re done, and take a look at your changes on your site!
Different Sidebar for Blog, Archive, Etc.
When updating settings for Page Layouts, you may have noticed you can change the sidebar displayed on these pages. There are three sidebars available to create and display throughout your site!
- The primary sidebar for this theme is called Brittany Theme Sidebar, as we walked through above.
- Sidebar 1 is available as a blank canvas.
- Sidebar 2 is used for the Shop/WooCommerce page! If you do not have a Shop or WooCommerce enabled, you can replace the content here with whatever you please.
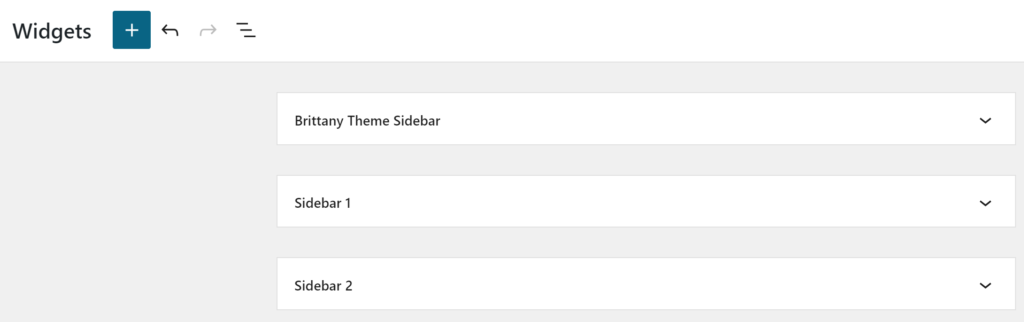
- To edit these new sidebars, go to Appearance > Widgets in your Admin Dashboard.
- Below Brittany Theme Sidebar, you will see Sidebar 1 and Sidebar 2. Simply click on either one to open and start editing!
- After you’ve finished editing, go to the theme Customizer.
- Go to Posts/Pages Layout, and click on the page type you want to change the sidebar for. For this example, we will do Archive.
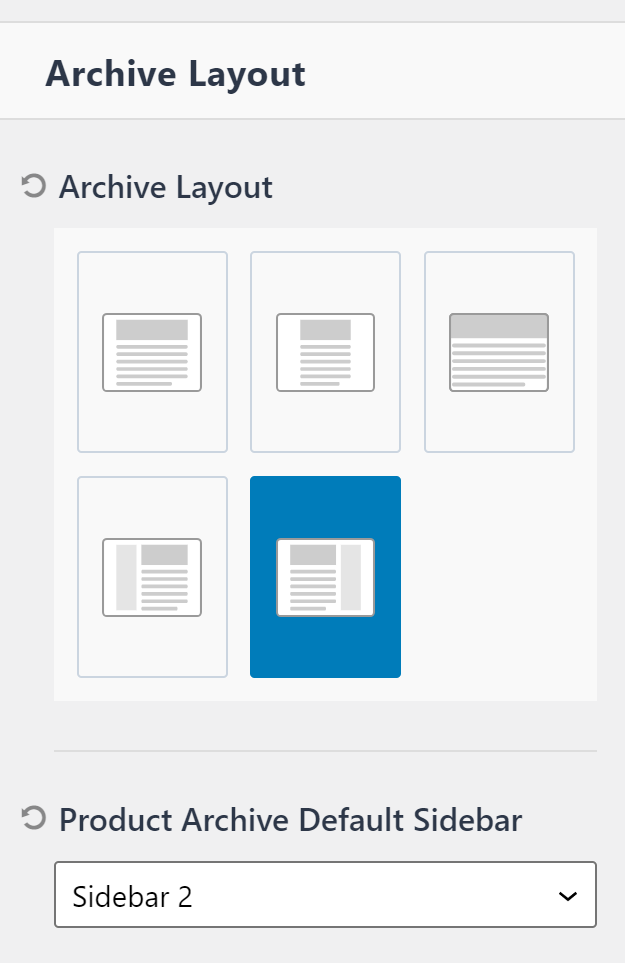
- Scroll down to Post Archive Default Sidebar.
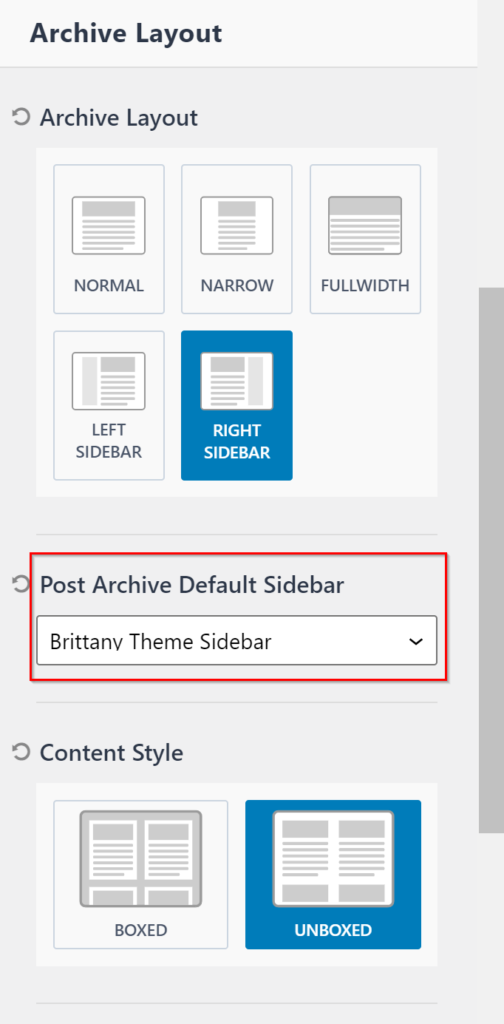
- Click on the dropdown and select the new sidebar you’d like to set and the preview will update on your right!

- Once all looks good, click Publish!
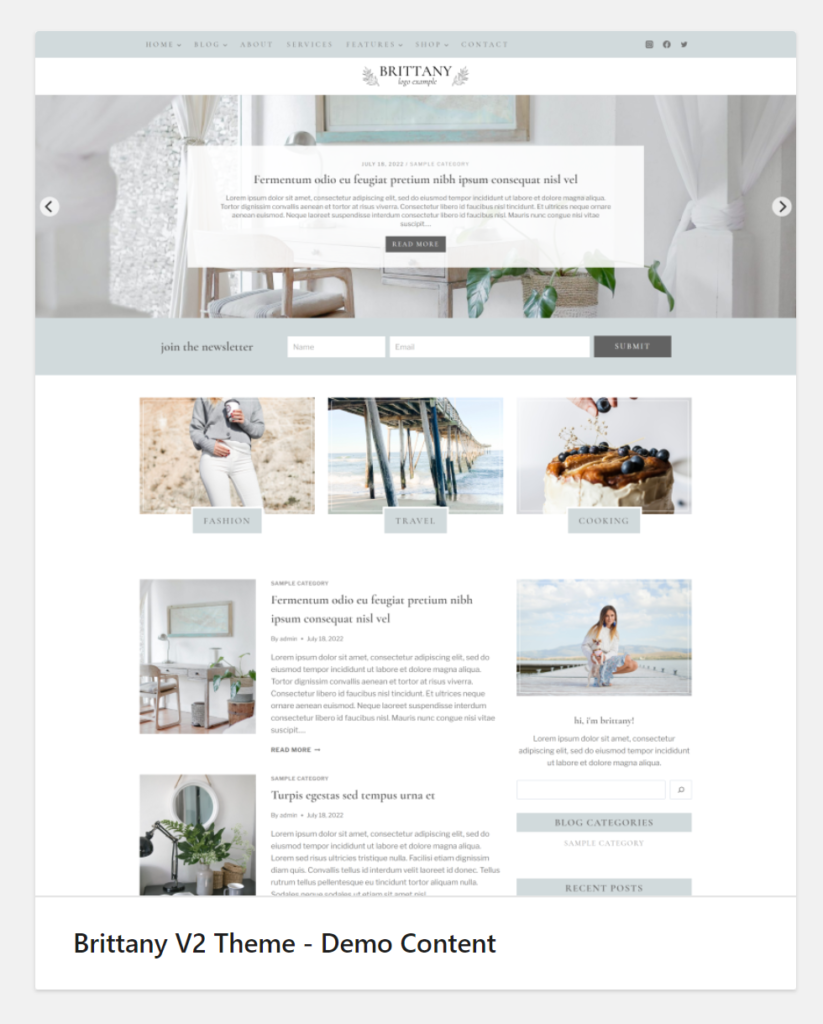
Page | Home Option 1 (Default)
Let’s go through the customization options for each of the pages included in the theme. We’ll first start with Home Option 1, which is the main/default option. The structure of this page is quite simple and fairly straight-forward.
- Slider features 5 recent posts – unfortunately, the styling of this cannot be edited
- This appears as a shortcode widget on the page editor.
- Newsletter signup form
- 3 quick-link features to your selected categories
- A list of latest posts
- Sidebar on the right
- This appears as a shortcode widget on the page editor.
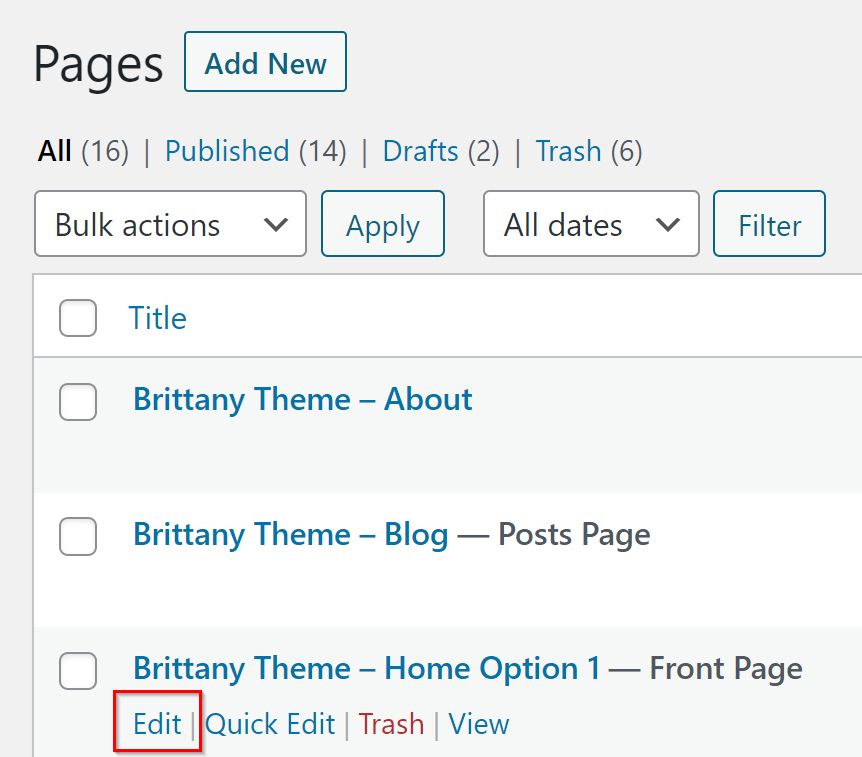
- In the Admin Dashboard, go to Pages and locate Brittany Theme – Home Option 1 and click Edit.
Update Newsletter Signup Form
Before we update this, it is important to note that this is a Reusable Widget. Because this appears in several other places on the website, this means you only have to update the settings in one spot, for them to update everywhere! For example, you can edit it here for the settings to apply to the placement in the footer, and vice versa!
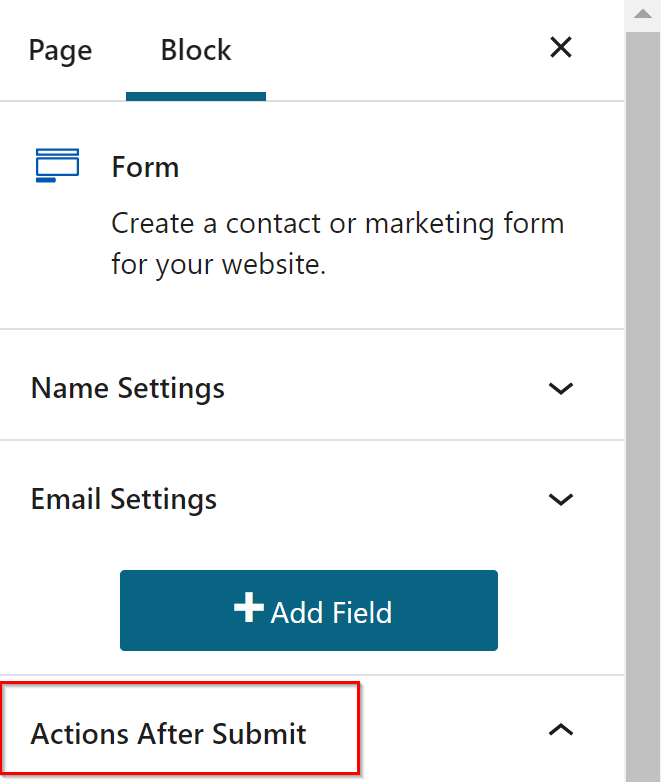
- Click on any of the form fields to open up the form’s settings.
- You can add and edit the fields to your needs by clicking on the +Add Field button.
- In the right sidebar, locate Actions After Submit and click on it.
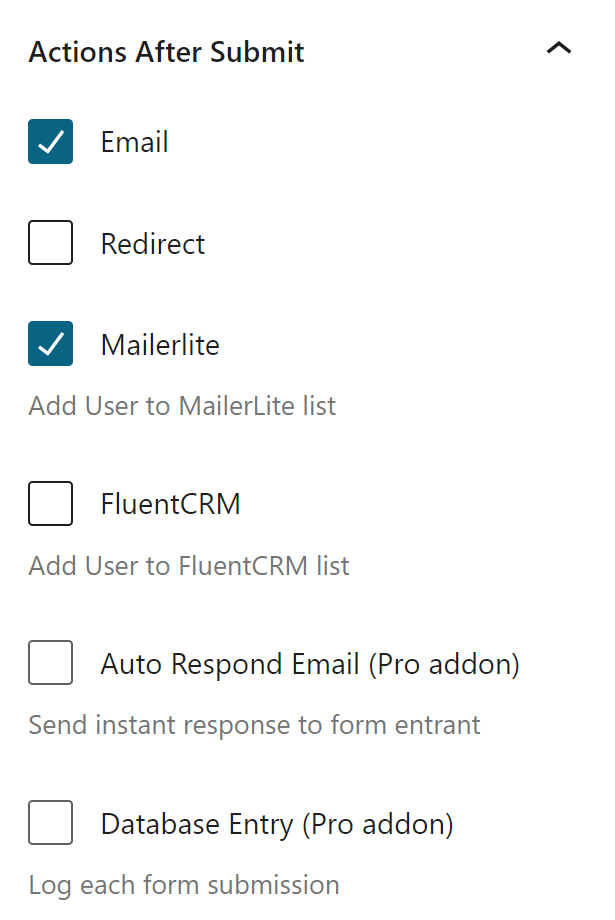
- This will now populate a list of choices, including many of the popular email marketing services. Click on the service or action you desire.
- NOTE: Some integrations may be a Pro Add-On. If you’re interested, I highly recommend looking into upgrading your Kadence theme — it is a phenomenal theme with extensive capabilities! However many of these services may provide a free plugin or integration as an alternative. Otherwise, you can keep the Action to email yourself, and you can manually add them to your marketing platform.
- After your new action is added, a new dropdown section may be added towards the bottom of the right sidebar. Locate the corresponding new section, open it, and follow the instructions of integration.
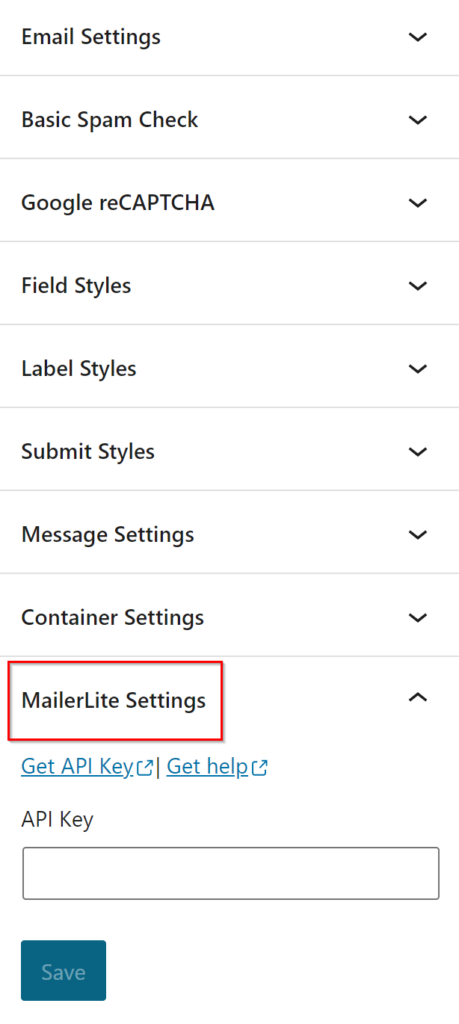
- Don’t forget to change the Email Settings if you wish to receive a copy of form submissions to your own email.
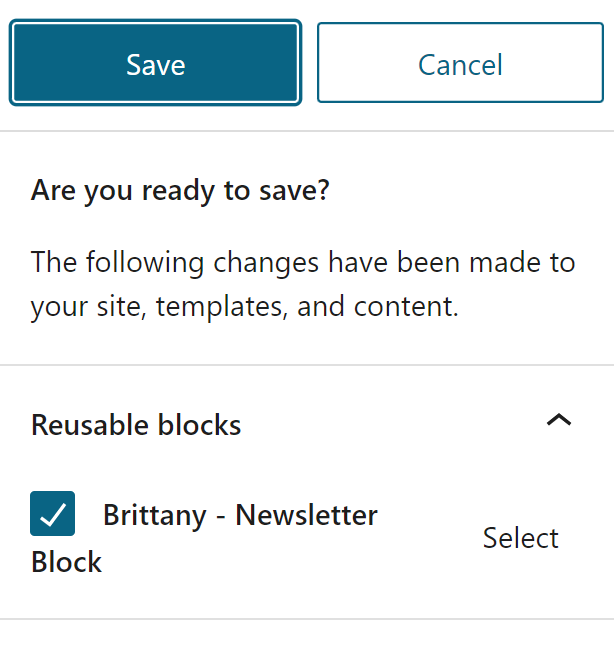
- When you want to save, you may see a white dot next to the save button, and a popup asking if you’re ready to save. This is simply notifying that a change has been made to your Reusable Block, and it will be updated in all locations where it’s placed. Click Save again to confirm!
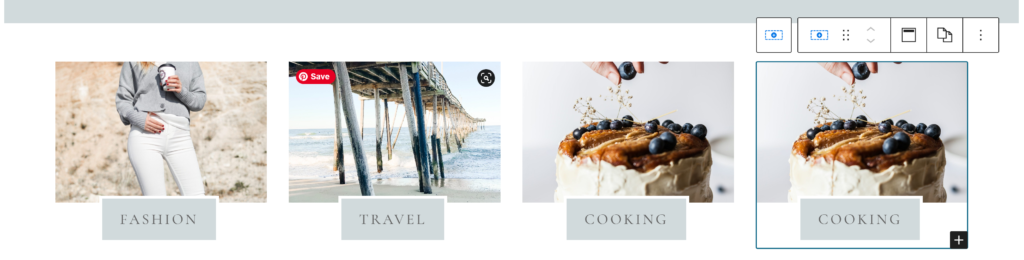
Update Feature Boxes
These feature boxes can be used for whatever you want! You can also add more or remove some to get as many as you want! (Though, I don’t recommend having more than five.)
- Click on the photo you want to change. In the right sidebar, click on the Edit Image button.
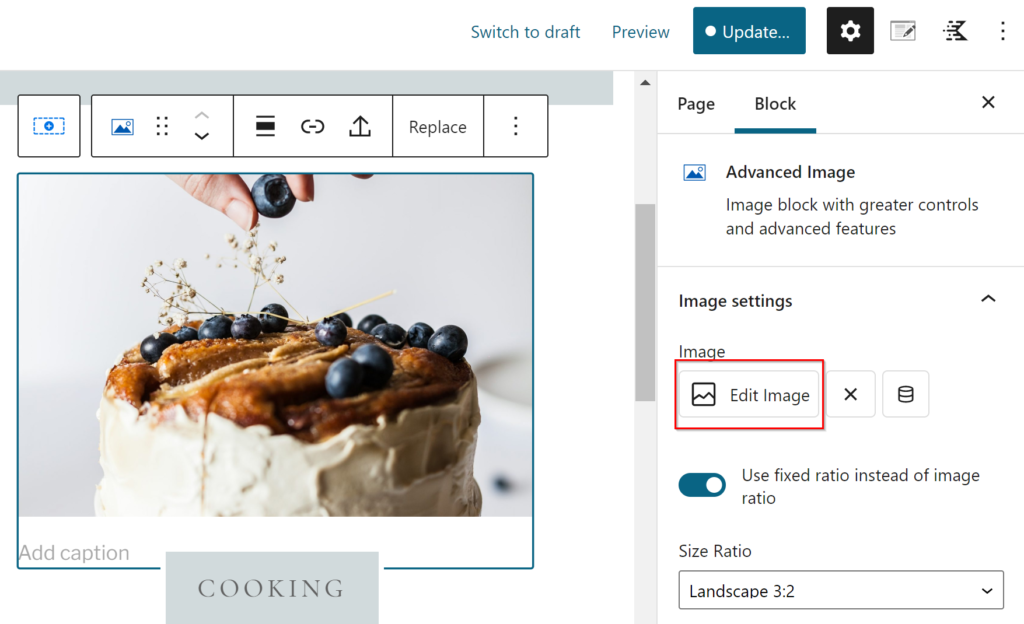
- Select or Upload your desired image.
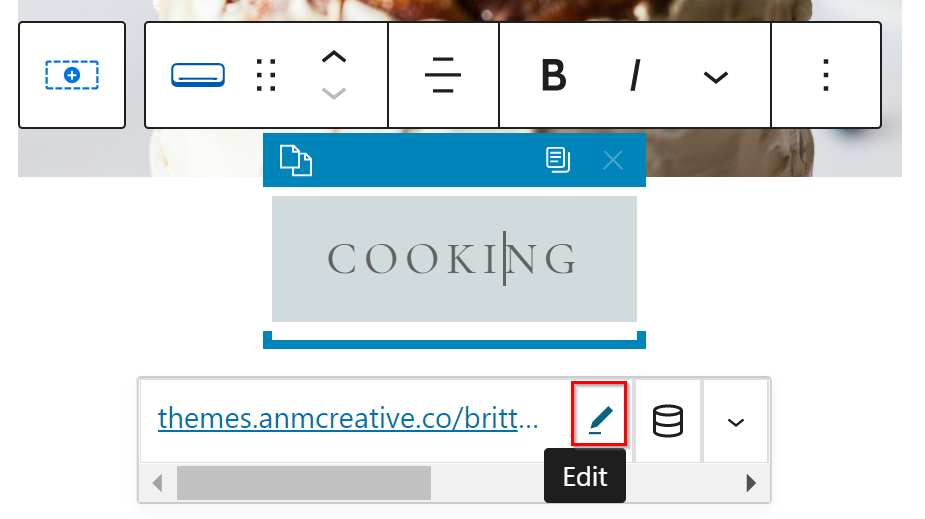
- Click on the button below the image. Highlight the button’s text to change it.
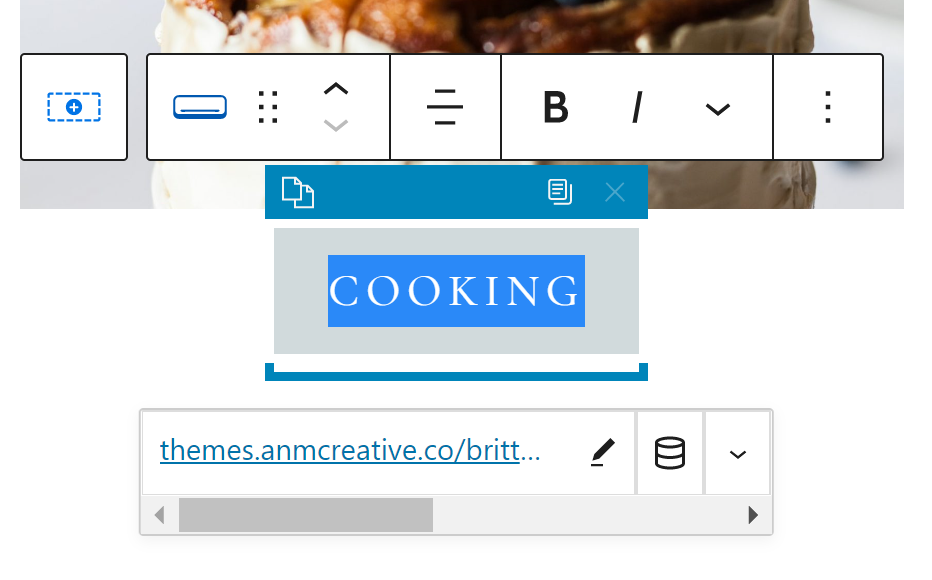
- Now click on the pencil icon next to the webaddress below the button to change where it links to.
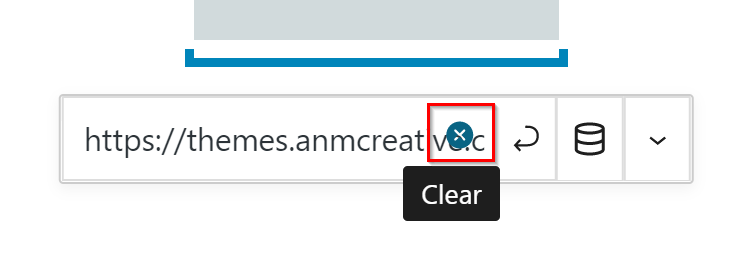
- Click on the X icon to remove the default link.
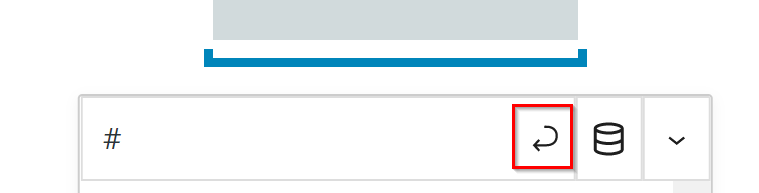
- You can paste a full link here, or search for a page within your site to link to. To apply the link, click on the swoop-arrow icon, then Save your changes.
- Repeat these steps for the remaining boxes.
Add or Remove Feature Boxes
This part may get a little tricky, but bare with me!
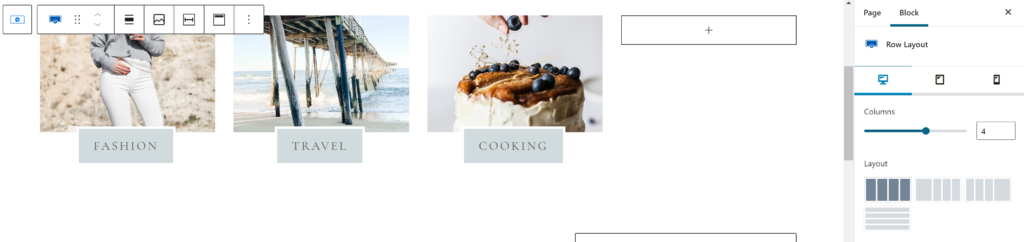
- Click in the white space between any two of the boxes. This will then pull up the row settings, displaying the 3-columns divided with blue lines as pictured below.
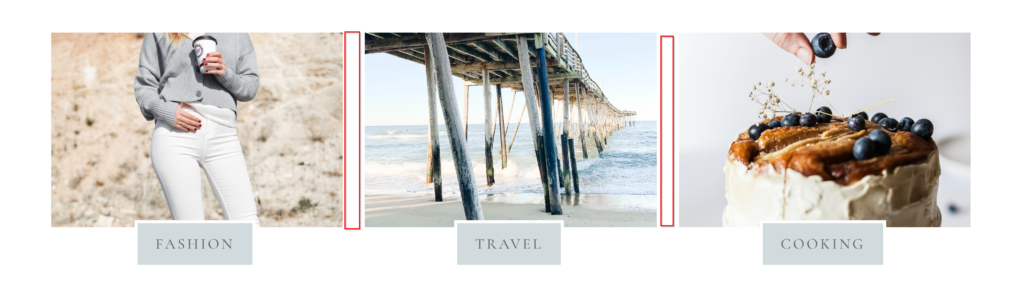

- In the right sidebar, the Row Layout settings are displayed where you can update the columns. To delete boxes, simply lower the columns to the amount you desire. To add columns, type or drag to your desired amount. If you’ve removed columns, then you’re done with this section! Otherwise, keep moving on.
- We will now copy and paste any of the existing boxes. Click on any box you wish.
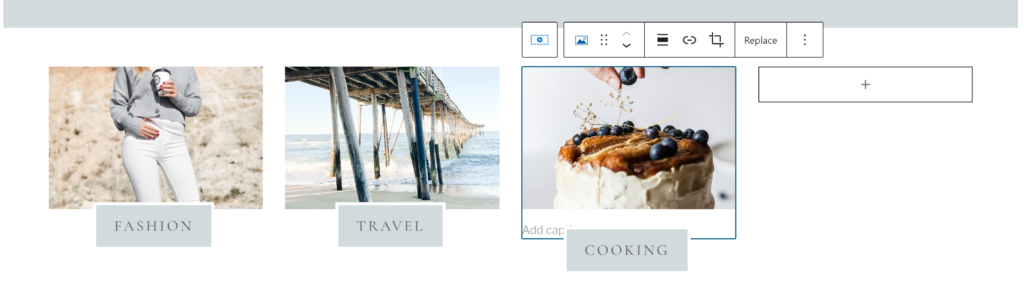
- In the top toolbar that just appeared for this element, click on the icon with a plus and dotted box around it, on the top left.
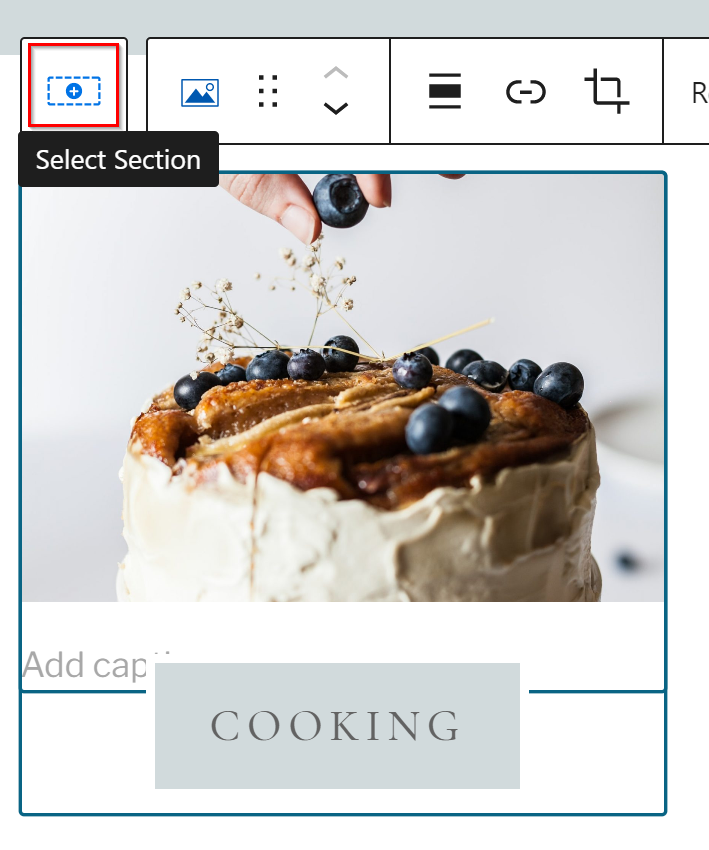
- Now click on the three dots to the right, then Copy.

- Click out of this pop up, and then the Plus of your new section. Click on Paragraph.
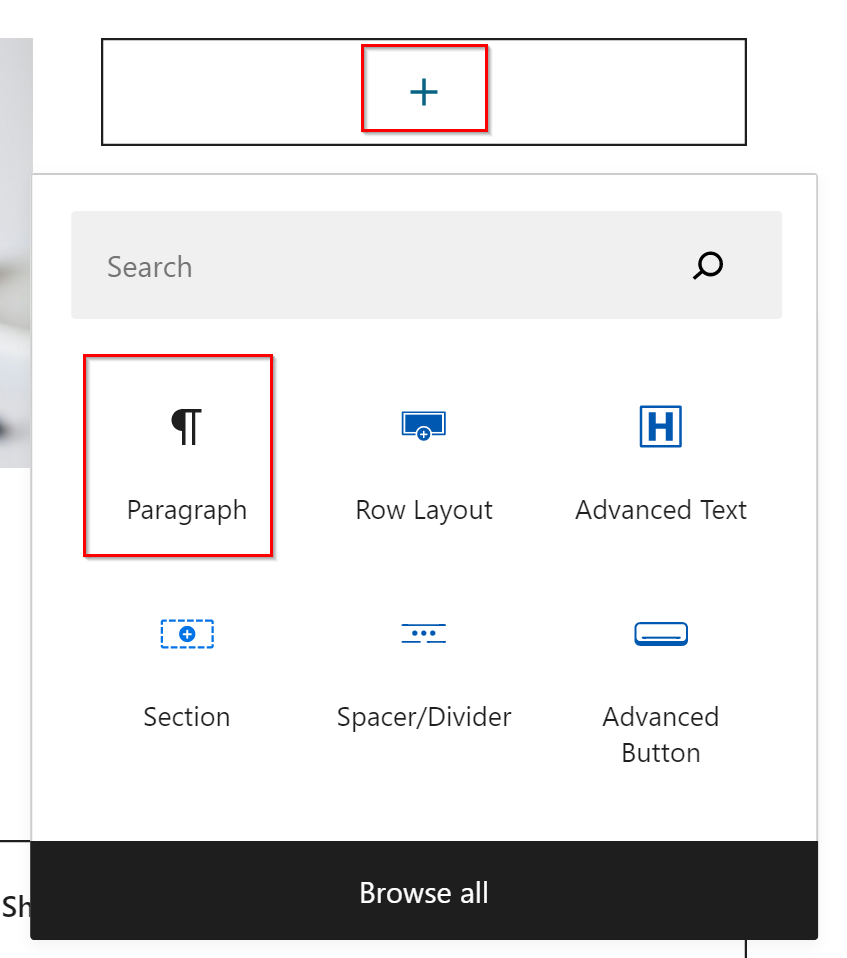
- Now Paste your copied content with the appropriate keyboard keys, and voila!
- Repeat the above steps as necessary, and follow the steps in 10.2 to update the content of the duplicated boxes to change them!
Update Blog Post Listings
There are so many ways to customize the listing of blog posts — two column, three column, no excerpt, photo-only, number of posts and more! Let’s dive in on how to make this happen.
- Click within the list of blog posts to open the settings in the right sidebar.
- Familiarize yourself with the settings by going down the sidebar, and play around with the looks until you get what you love.
- Save your changes when you’re done!
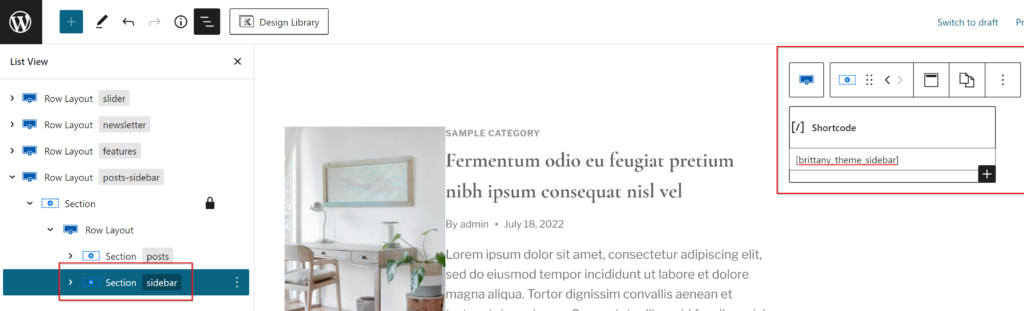
Update the Sidebar
A shortcode is being used to display the sidebar on the homepage. Please refer to SECTION 9 of this documentation on updating the sidebar.
Change the Layout of Posts + Sidebar
You can also change the layout of the posts & sidebar! By default, it is a two-column layout with the sidebar on the right. Let’s walk through two different examples you might want to explore.
Move Sidebar to the Left
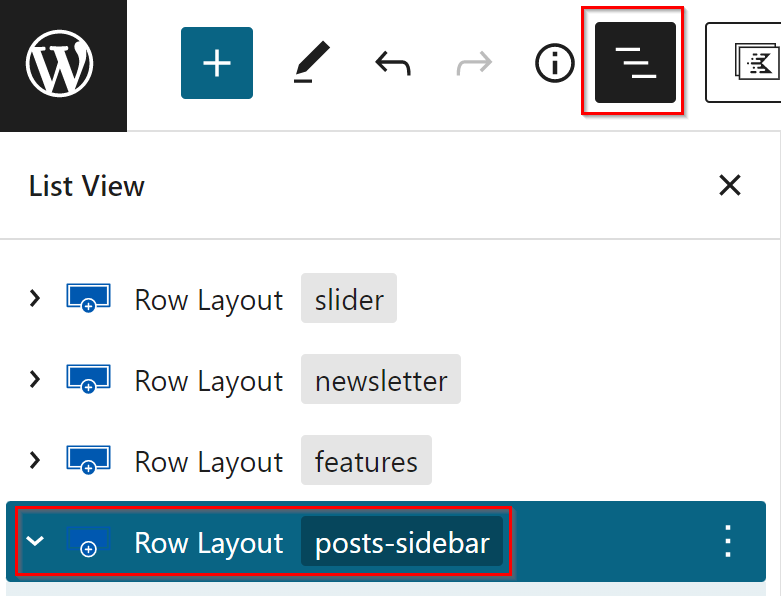
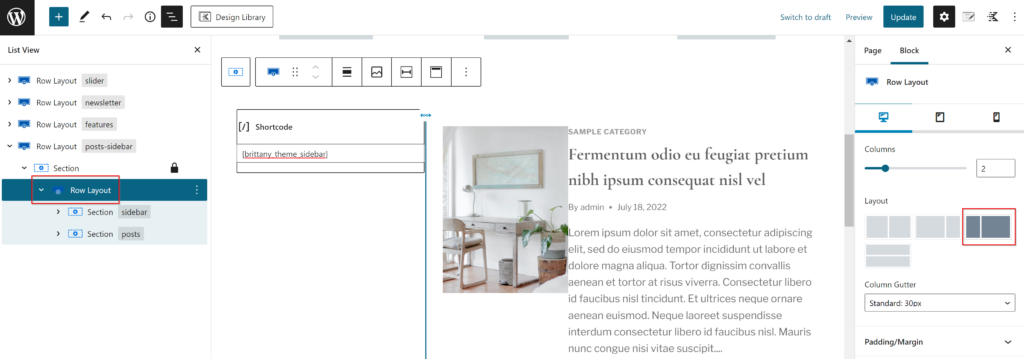
- Open the List Navigation by clicking on the three vertical lines icon in the top of the page, then click on the “Row Layout” named posts-sidebar.
- Click on Row Layout in the dropdown.
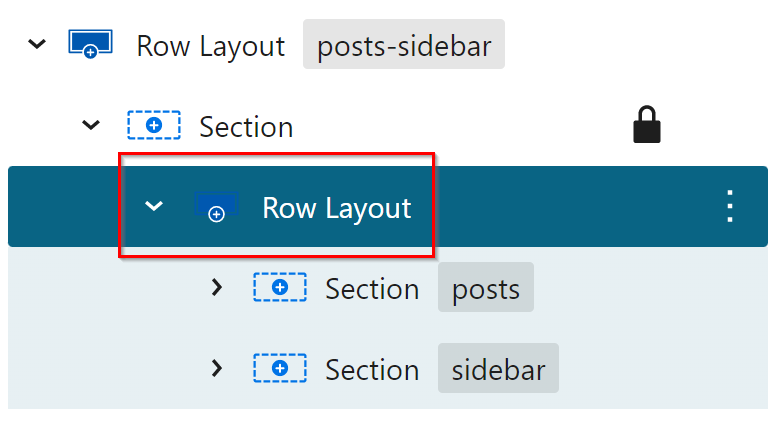
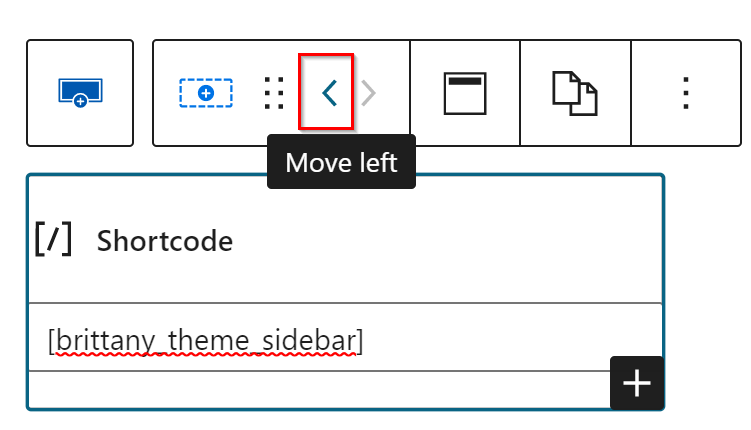
- You will now see two sections named posts and sidebar. Click on the one that says sidebar. This will select the content on the page, and open the top toolbar for the sidebar section.
- In the top toolbar of the sidebar section, locate the left arrow (<) icon and click on it to move it to the left.
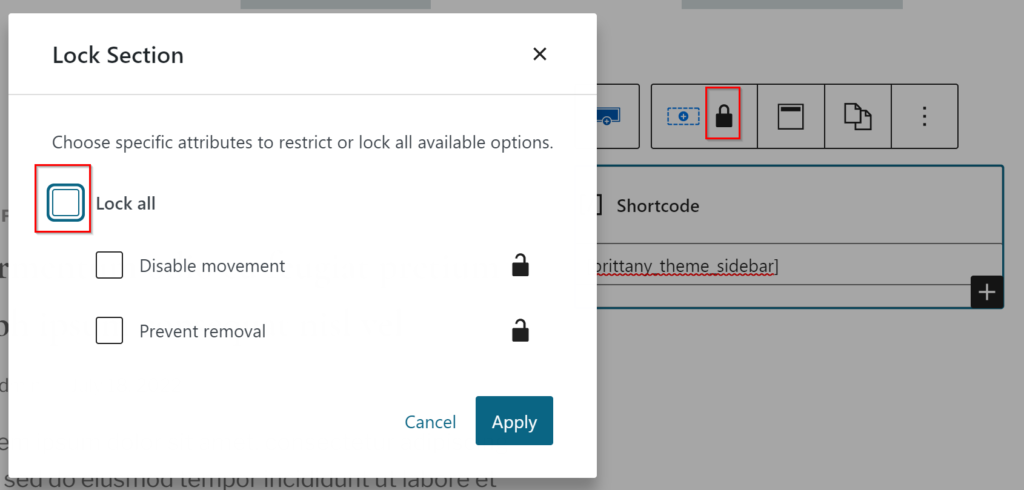
If instead you see a lock icon in your section, simply click on the icon and deselect “Lock all” and Apply changes. Now you can continue!
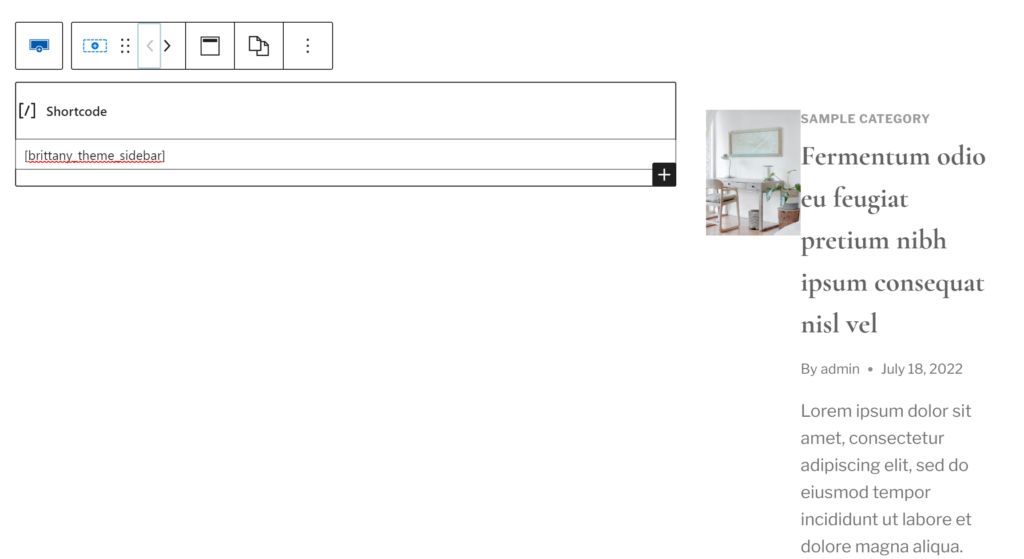
- Your sidebar is now on the left, but it might look super wide! Lets fix it back to normal size.
- Click on Row Layout in the left navigation again, then in the right sidebar, click on the appropriate layout you desire, and voila!
- Save your changes when you’re done!
Page | Home Option 2
The features on this page use the same general knowledge as features on Home Option 1. Please refer to Section 10 of this documentation.
Page | Blog Category Index
The Blog Category Index is a great place to feature every section of your blog available, while including the most recent posts of each!
- Change the heading/name of the Category by clicking on the title.
- Click within the posts feed to open the settings.
- In the right sidebar, search for the category you wish to feature. You can also do tags if you prefer!
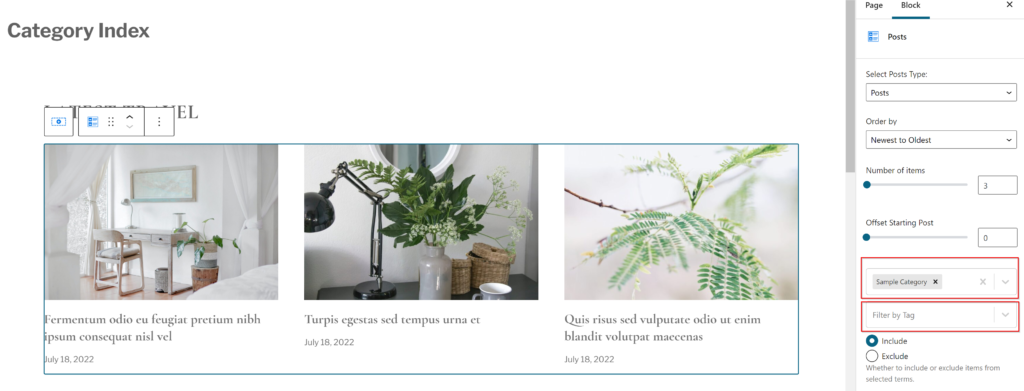
- Continue changing any other settings you desire, and repeat these steps for the remaining sections.
- Duplicate any row as much as needed from the list navigation.
Page | About
The features on this page use the same general knowledge as features on Home Option 1. Please refer to Section 10 of this documentation.
Page | Services
The features on this page use the same general knowledge as features on Home Option 1. Please refer to Section 10 of this documentation.
Page | Sales
The features on this page use the same general knowledge as features on Home Option 1. Please refer to Section 10 of this documentation.
Page | Instagram Landing
The Instagram Landing page is a great feature to direct your Instagram followers to since it is your own website URL they are landing at. This page is also super customizable so you can add as many features/links as you need!
Some features on this page use the same general knowledge as features on Home Option 1. Please refer to Section 10 of this documentation.
Add & Edit Links
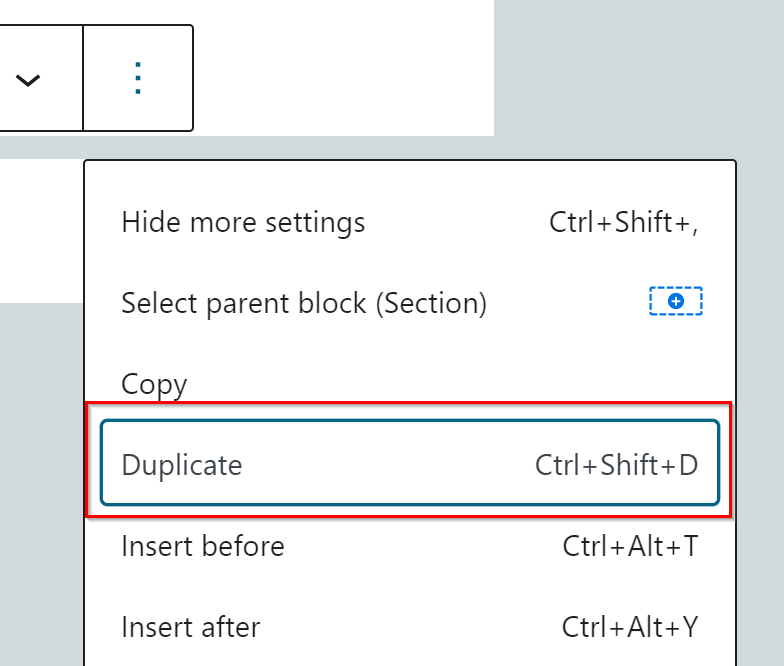
- Click on any of the existing links, then click on the three vertical dots icon to the right to open the option menu.

- Click Duplicate.
- Edit the text and link as needed!
Edit Social Links
- Click on the row of existing social icons.
- Click on the plus (+) icon to the right to search or browse for the channel you want to add.
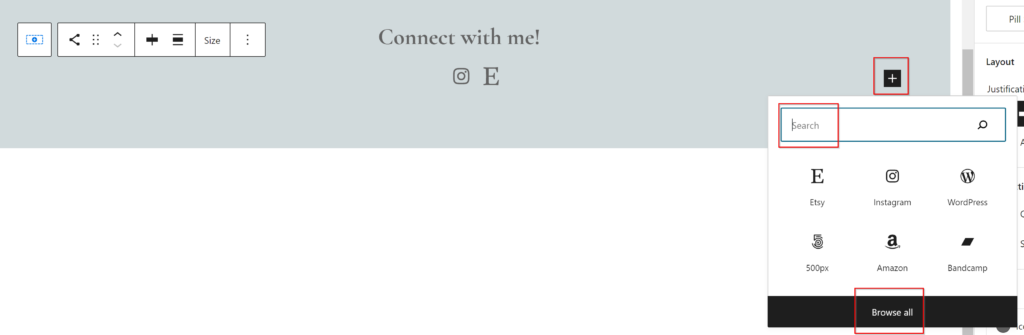
- Click on the social icon to edit/add the link. Then click the return arrow icon when you’re done to save the link.
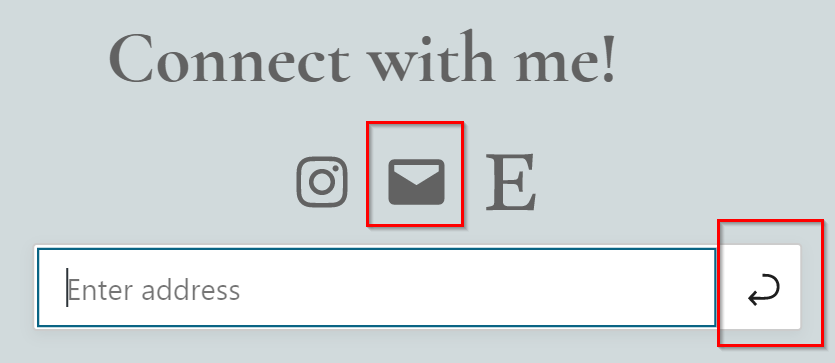
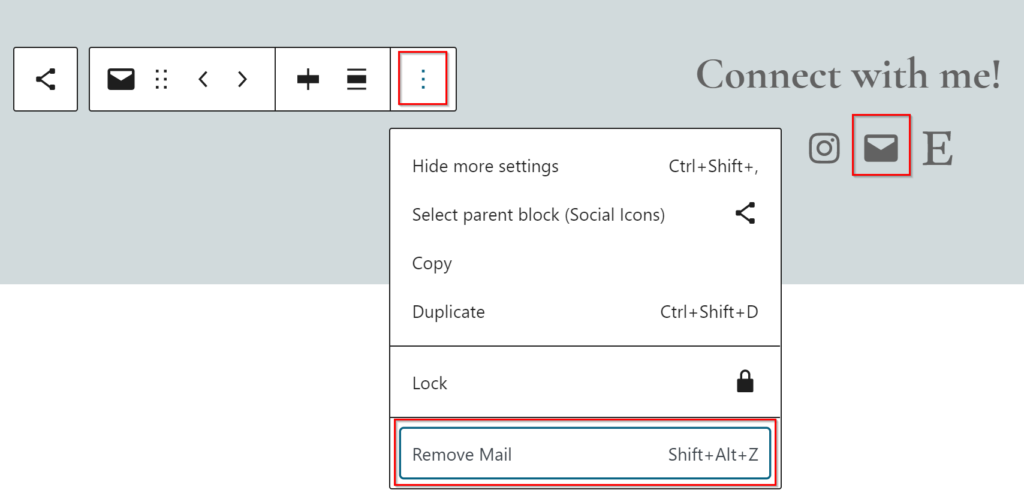
- Use the toolbar to the left to remove a selected channel.
Page | Contact
The contact form on this page will need to be configured to your preferences. This is done following the same steps mentioned here.
WooCommerce | Customize Shop
If you want the WooCommerce-ready styling of this theme, you will need to have the WooCommerce version installed. Don’t worry, you can have both versions of the theme installed! If you want your store to look exactly like it does in the demo, please follow installation steps 2.2 & 2.3 with the WooCommerce version.
This theme is compatible with WooCommerce and includes features ready to customize! Layouts and pages of your Shop will be done in the Customizer under WooCommerce. The main listing page of the shop includes a sidebar which is customizable. Let’s review how to do this here!
- In the Customizer, go to WooCommerce > Product Catalog.
- Change the placement of the sidebar, or remove it, under Archive Layout.
- In the preview, click on any of the blue pencil icons next to the widgets in the sidebar. This will open the editing settings to the left.
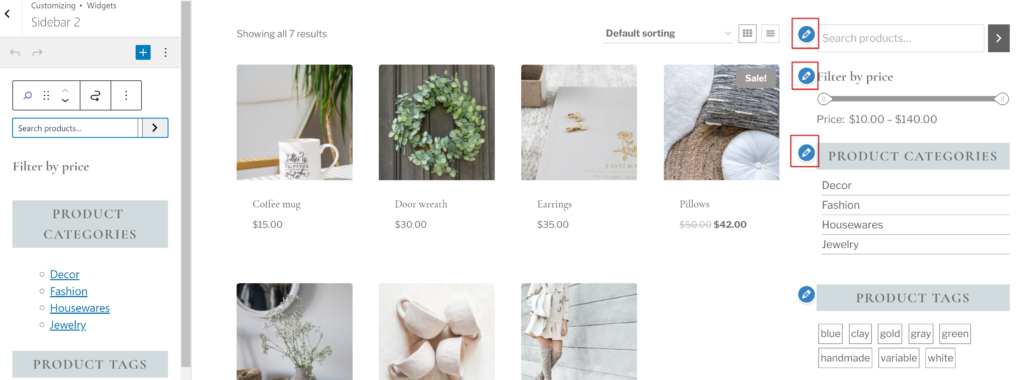
- Click the plus (+) at the bottom to Browse all and search WooCommerce to add shop-specific widgets.
- Use the knowledge you’ve gained throughout the customization process to customize to your liking.